
The complete guide
Headlight Polish Buyer's Guide - Clearing Cloudy Plastic Lenses by Hand
The problem with plastic lenses
Lenses used to be glass. Now most of them are plastic, and plastic behaves differently outdoors. It is lighter, it is cheaper to shape, and it does not shatter the way glass does. The trade-off is that the outer surface slowly degrades. Sunlight works on it. Road grit scours it. Bugs, bird droppings, de-icing salt and the stiff brushes in automatic car washes all leave their mark. Over a few years the surface stops being perfectly smooth, and light that used to pass straight through now scatters.
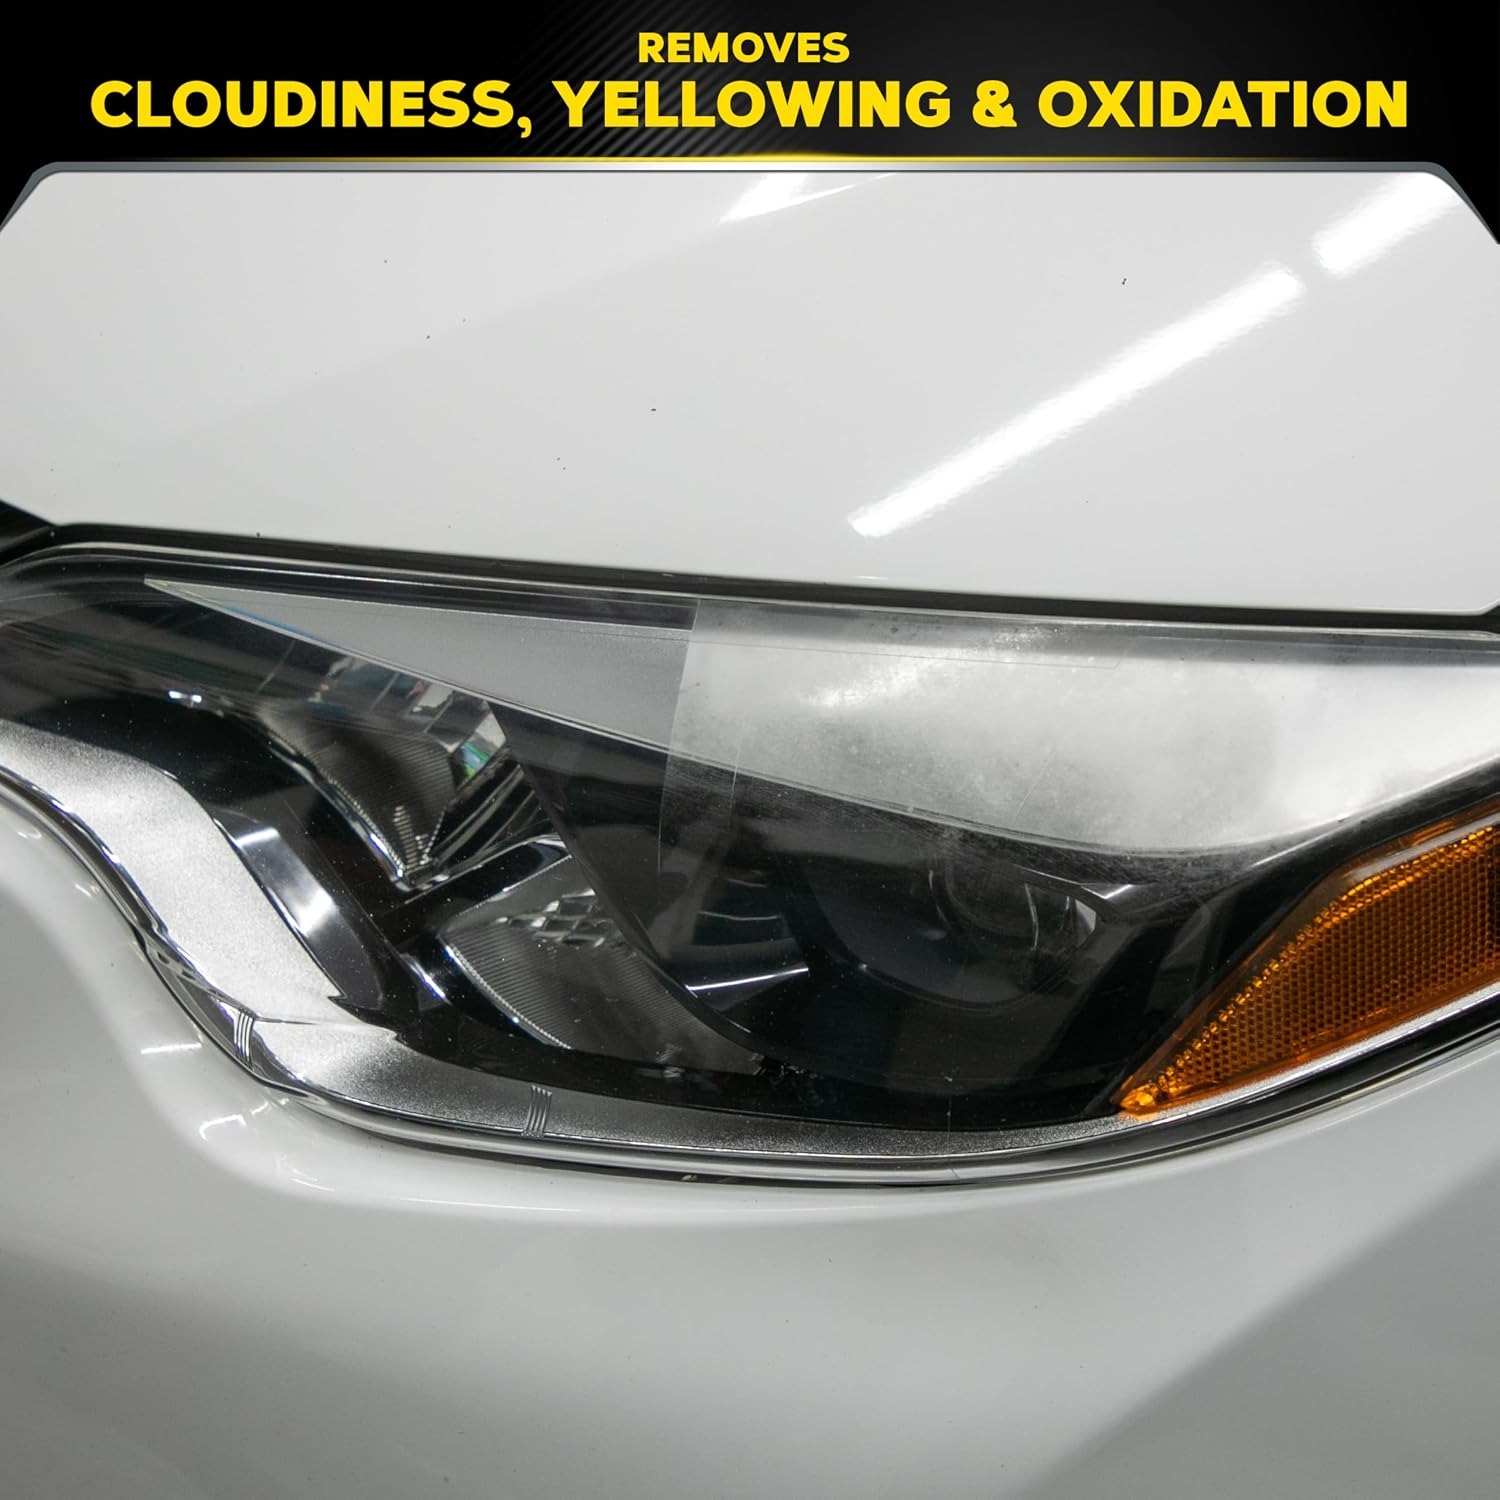
That scattering is what you see as cloudiness. The lens looks milky in daylight and slightly yellow under a streetlight. You can wash the car, dry it carefully, and the lens still looks tired. That is the clue that you are dealing with surface damage rather than dirt. No amount of soap fixes a rough surface, because soap only lifts what sits on top of it.
This is the gap a plastic headlight cleaner fills. It does not clean the lens in the ordinary sense. It gently works on the top layer of the plastic itself, smoothing out the micro-roughness so light can pass through more evenly again.
How a polish actually works
The active part of a product like this is a very fine abrasive suspended in a carrier. When you rub it over the plastic with a cloth, those particles level off the high points of the roughened surface. The scratches that cause haze are tiny, so you do not need a lot of cut to reach them. You need consistency and enough passes.
This particular product is a one-step cleaner and polish. The cleaning agents lift the loose grime while the fine micro-abrasive works on the surface, which is why you do not need to run a separate compound beforehand. The grit is listed as fine, and that matters more than people expect. A coarse compound removes material fast, but it leaves behind its own pattern of scratches that then has to be chased out with two or three finer products. A fine polish works slower and leaves less behind to correct.
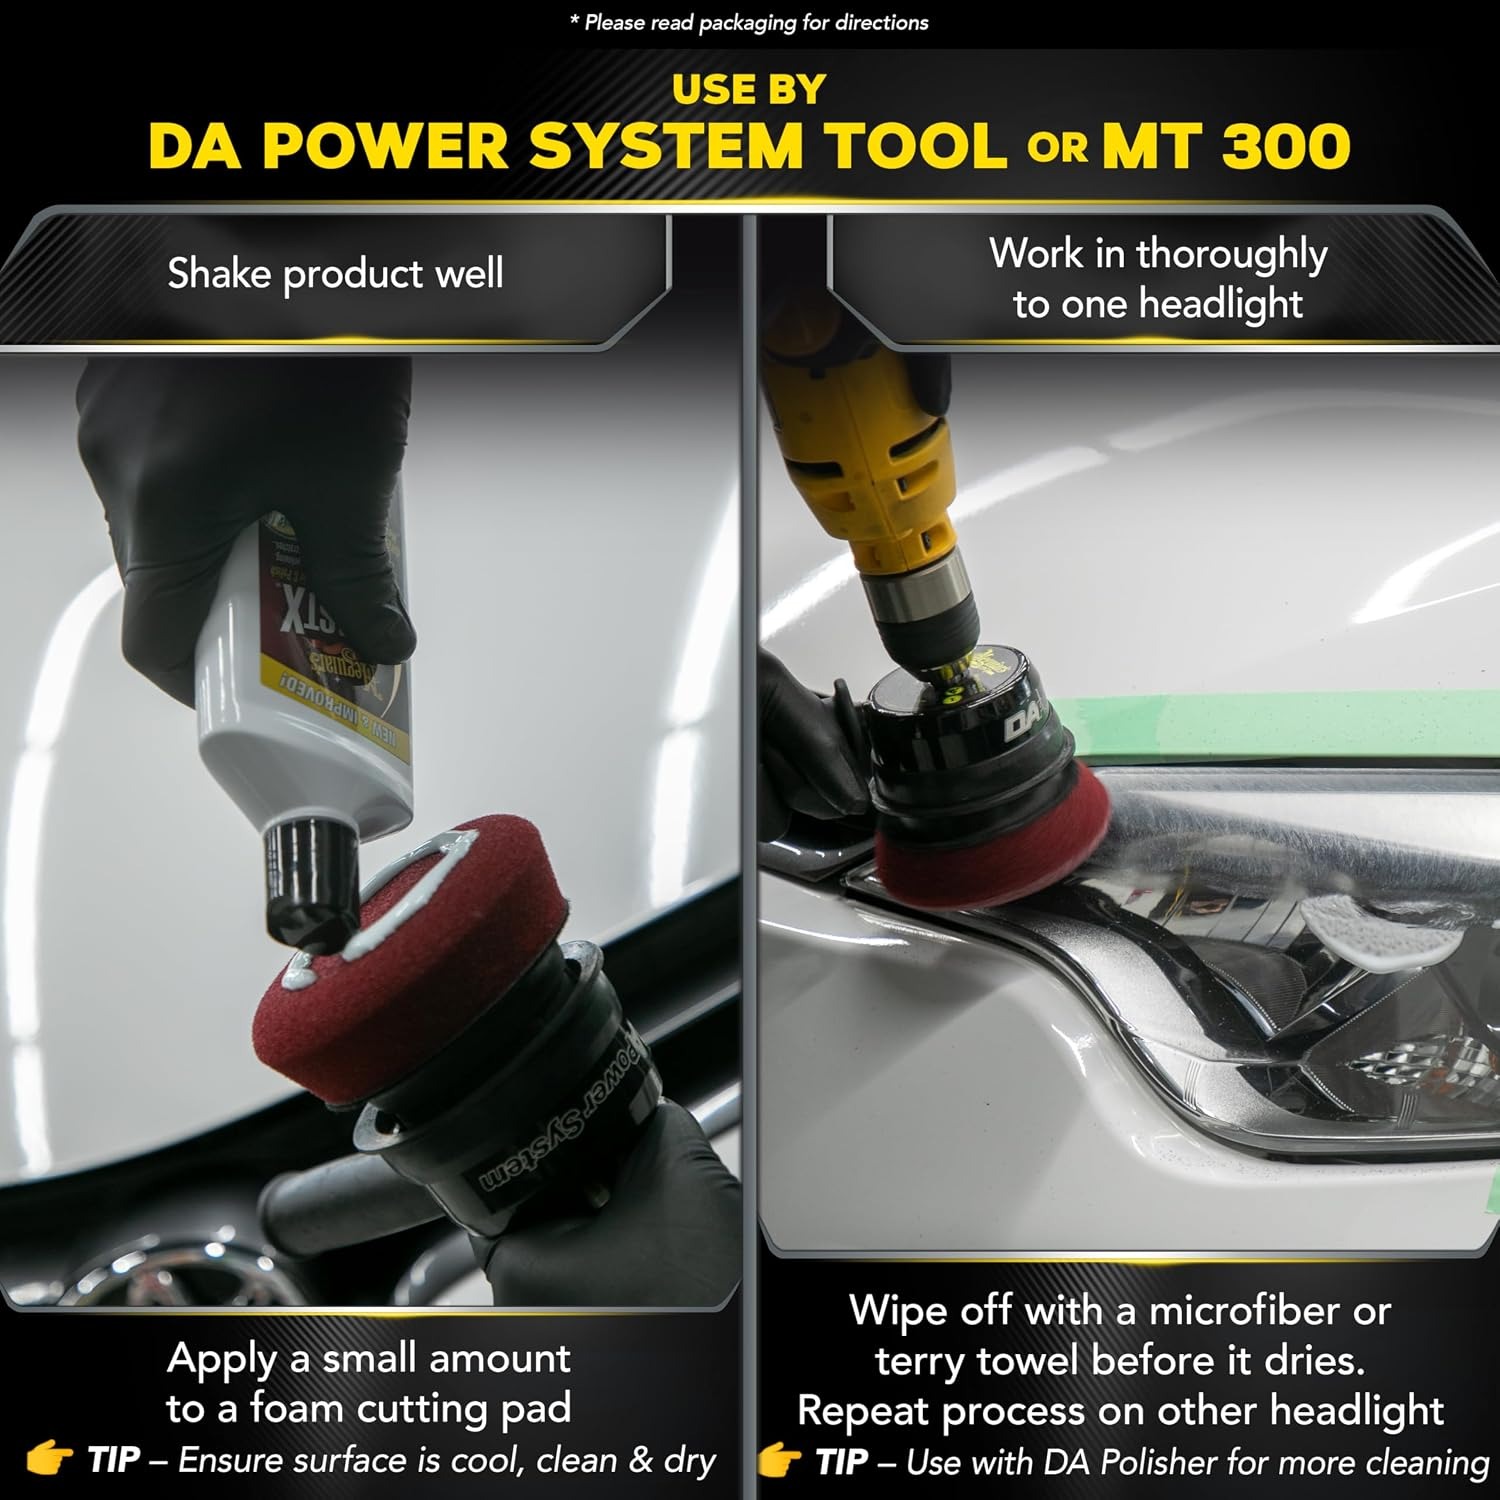
It is applied by hand with a soft cloth. No machine, no backing pads, no speed settings. For a lens with light to moderate haze, hand application is perfectly workable. It also gives you more feel for what is happening under the cloth, which is useful on curved or flexible surfaces where a machine would be awkward.
What it suits, and what it does not
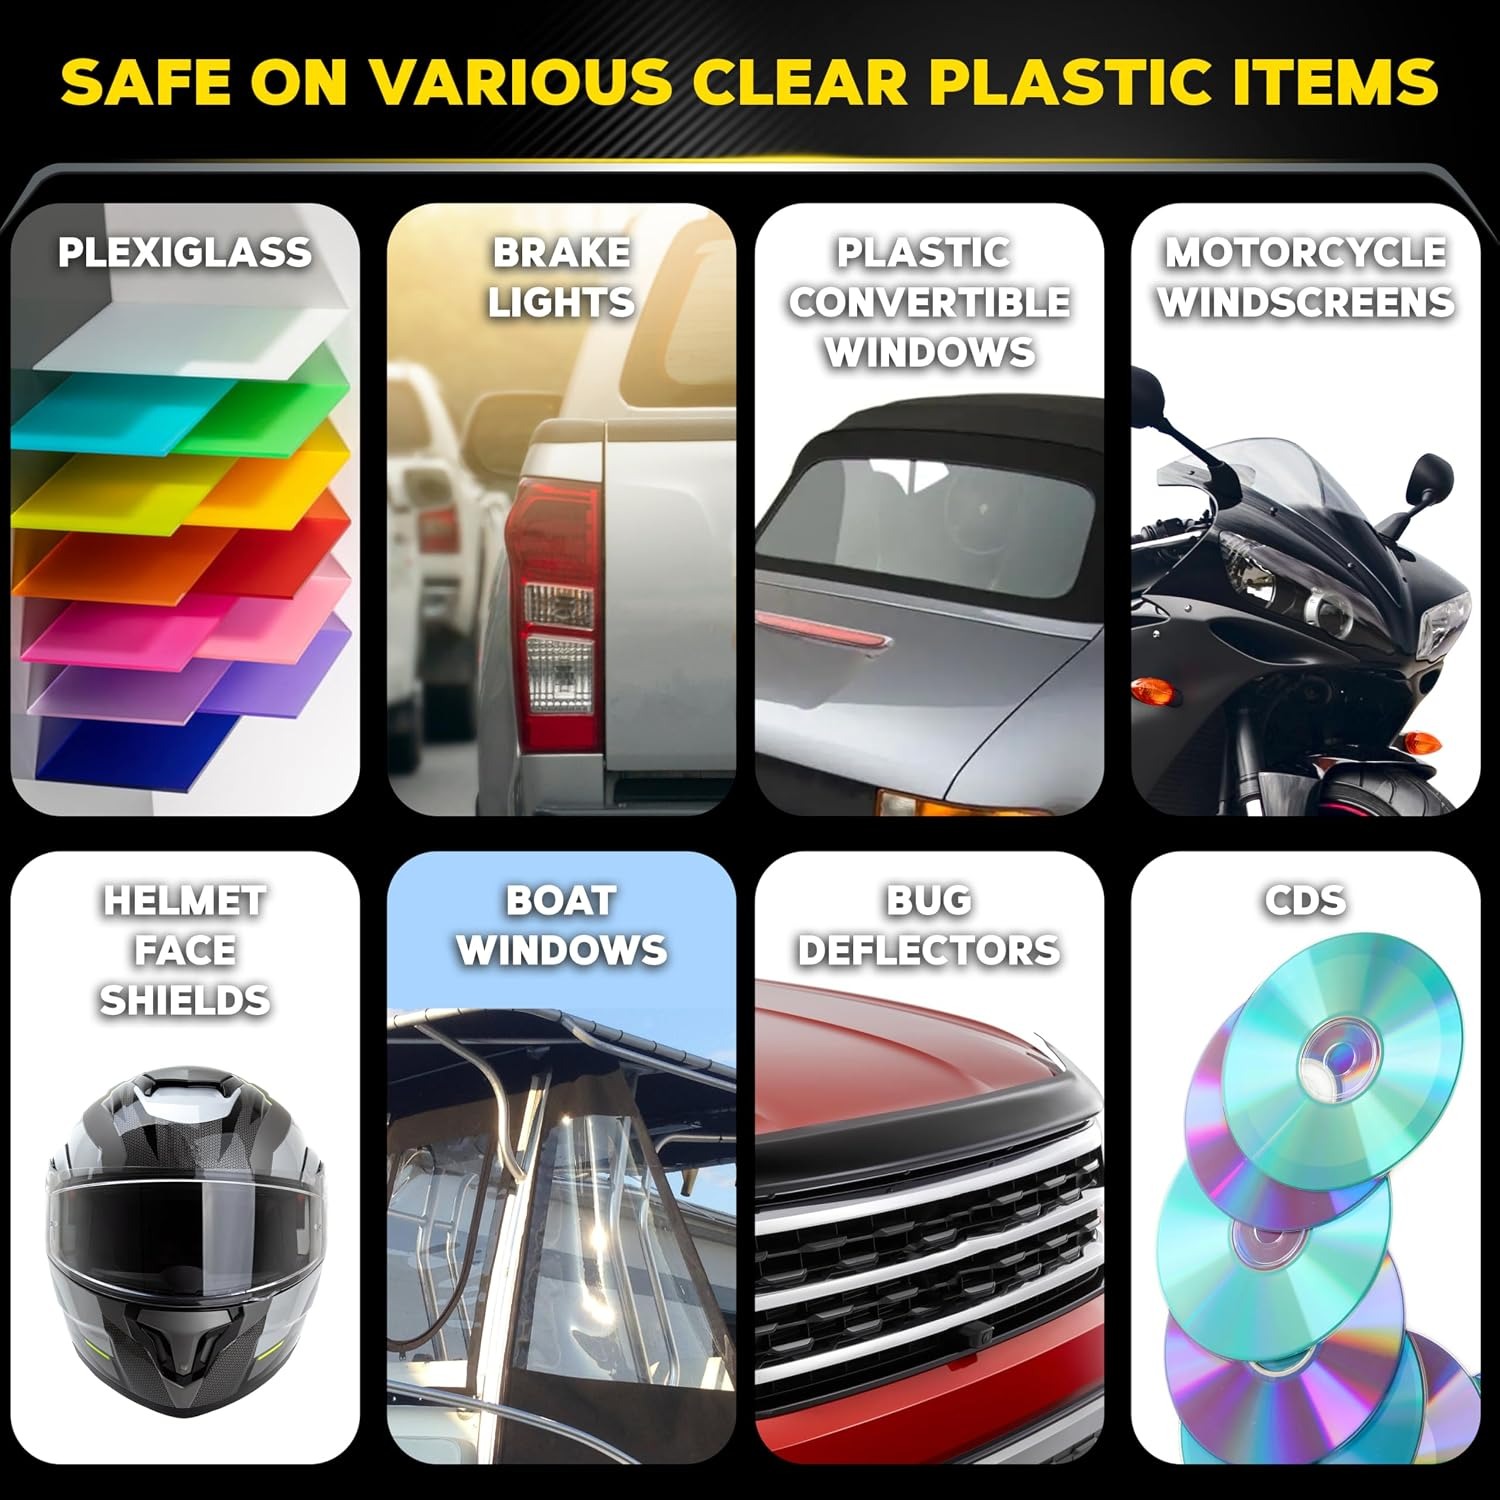
The listed surfaces are uncoated clear plastics, rigid and flexible. In practice that covers headlight lenses, brake and tail light lenses, plastic convertible rear windows and plexiglass panels. Flexible plastic windows are a common use, because they scuff from folding and from being wiped with the wrong cloth, and a machine polisher is genuinely difficult to use on them.
Now the honest part. Results depend on the condition of the lens, and some problems sit beyond the reach of any external polish. If the plastic has crazed, meaning a network of fine cracks running into the material rather than across the surface, polishing the outside will not remove them. If there is moisture or condensation inside the housing, that is a sealing problem and the polish never touches it. If the reflector behind the lens has discolored or peeled, the issue is internal. Knowing which problem you have before you start saves a lot of effort.
A quick test helps. Wet the lens with clean water. If it looks noticeably clearer while wet, the haze is likely on the surface and a polish has something to work with. If it still looks dull and dark when wet, the trouble is probably deeper in or behind the lens.
Choosing between a polish and a full kit
People often ask whether they should buy a polish or a complete restoration kit. The difference comes down to how far gone the lens is and how much work you want to do.
A full kit usually includes graded sanding steps before any polishing happens. That is a bigger job. You are removing a measurable amount of material, you have to work through every grade properly, and skipping a step leaves marks you then have to go back for. It makes sense on a heavily oxidized lens that has been sitting in strong sun for years.
A standalone polish is the lighter option. It suits a lens with mild to moderate haze, and it suits anyone who has already done a full restoration and wants to keep the surface in shape afterward. That second use is explicitly supported here, since this product can be used on its own or as a top-up alongside a restoration kit. Many owners do the heavy work once and then reach for a polish occasionally from then on.
If you are shopping for the best headlight polish for ongoing maintenance rather than a one-off rescue, the hand-applied single-step approach is usually the practical pick. Low commitment, nothing to set up, easy to do on a weekend morning.
Doing the job properly
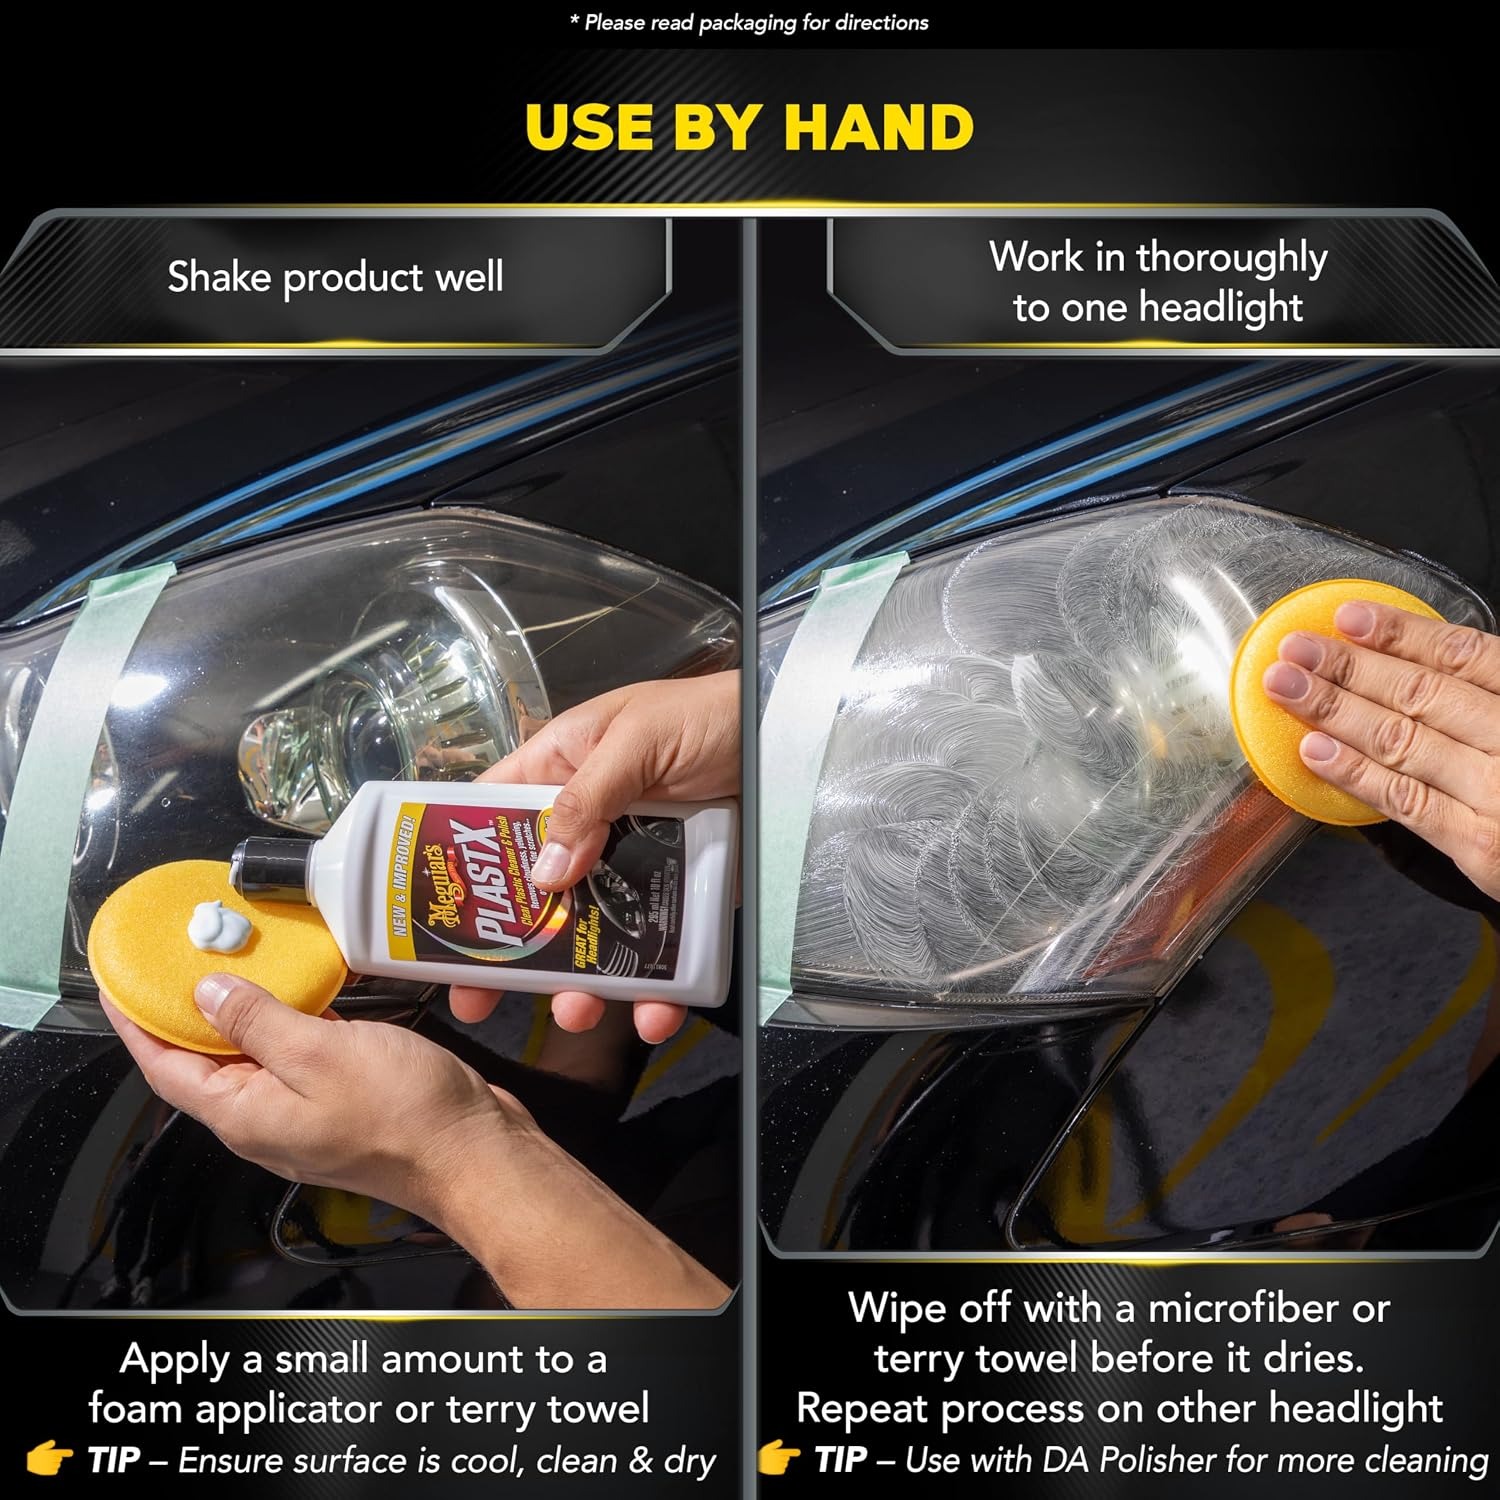
Start with a clean, cool lens in the shade. Wash it with car shampoo and dry it fully. Any grit left on the surface will get dragged around by your cloth and cause fresh scratches, which defeats the purpose.
Mask the surrounding area. Painter's tape around the edge of the lamp protects the paint and trim from stray product and from cloth pressure. It takes two minutes and it is the step most often skipped and most often regretted.
Shake the bottle well, put a small amount on a clean soft cloth, and work the lens in steady overlapping passes. Use light to moderate pressure. Keep an eye on the cloth: once it loads up with residue it stops working, so move to a fresh section. When you have covered the whole lens, buff off the residue with a dry area of cloth and look at the result in good light. A second pass on stubborn patches is normal.
Before any of that, test on a small, less visible part of the lens. Plastics vary, and a quick test tells you how this one responds before you have committed to the entire surface.
Work one lens at a time so you can compare the finished one against the untouched one. It is a useful reference and it keeps you honest about whether another pass is worth it.
Looking after the bottle and the results
Cap the bottle firmly and store it upright somewhere cool and dry, out of direct sun and away from freezing temperatures. Shake before each use so the abrasive stays evenly mixed.
Wash your applicator cloths separately from household laundry. Polish residue and grit embed in microfiber, and a contaminated cloth is a scratch waiting to happen on your next job. Dedicated cloths for this task are cheap and worth keeping apart.
As for the lens itself, how long the improvement holds depends on where the car lives and how it is washed. A car parked outside in strong sun faces more exposure than one in a garage. Hand washing is kinder to plastic than stiff automatic brushes. No claim is made here about duration, and anyone who gives you a precise figure is guessing.
The short version
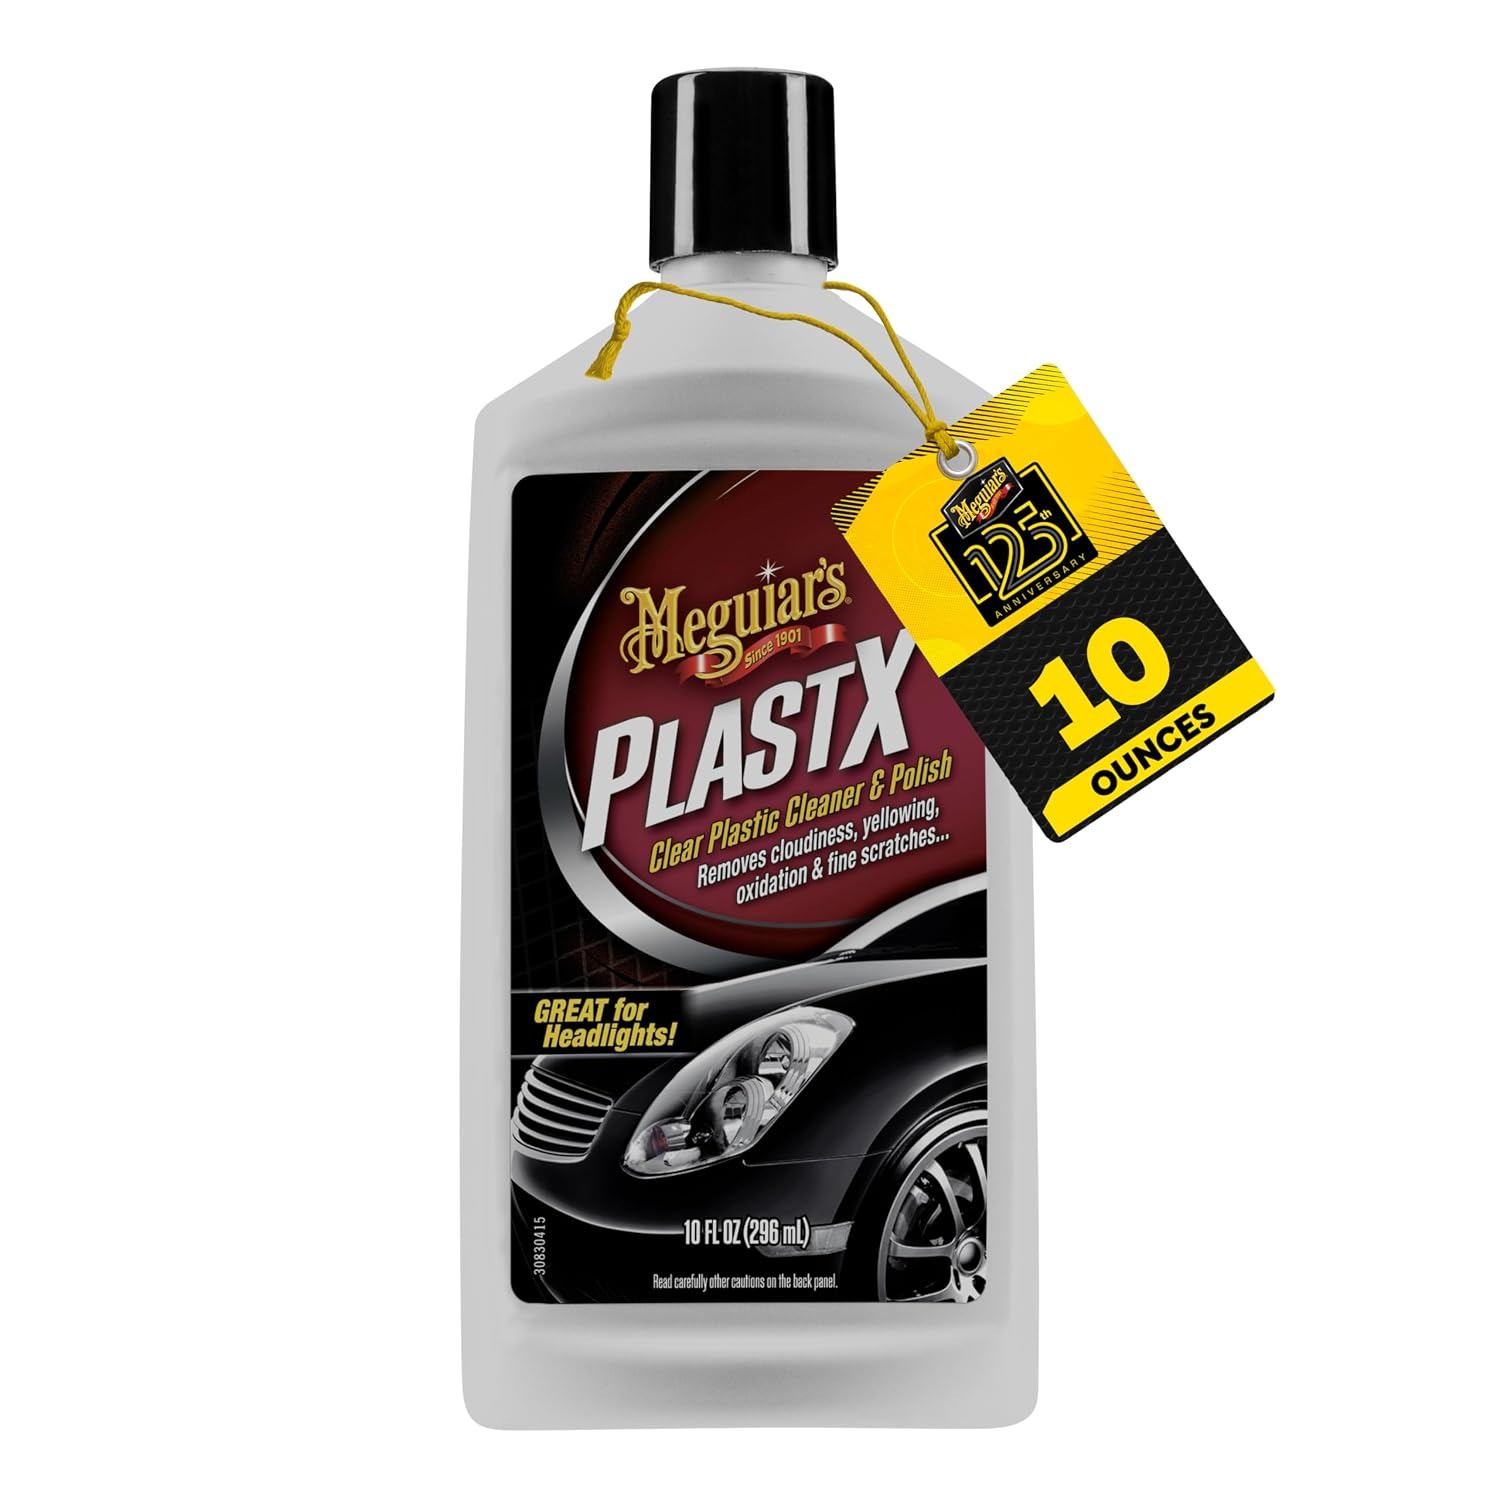
This is a 296 ml one-step cleaner and polish for uncoated clear plastics, with a fine micro-abrasive formula applied by hand using a soft cloth. It targets cloudiness, yellowing, oxidation and fine scratches on headlight lenses, brake light lenses, plastic convertible windows and plexiglass. It works on its own or as a top-up alongside a restoration kit.
Wash the lens, mask the surrounding paint, test a small area, then work in overlapping passes and buff clean. Results depend on the condition of the lens, and damage inside the housing or deep in the plastic cannot be reached from the outside. Handle it that way and you have a straightforward, low-fuss way to keep plastic lenses looking better than they would otherwise.