
The complete guide
The Practical Buyer's Guide to H11 Halogen Headlight Bulbs
The problem with a dead headlight
Headlight bulbs rarely give you notice. One evening the road looks fine, the next the left side of your lane is strangely dark, or someone flashes you at a junction. You pull over, walk around the front of the car, and sure enough one beam is out.
It is a small failure with an outsized effect. Half your forward light is gone, your view of road edges and signs drops off sharply, and other drivers have a harder time judging where your car is. It is also the sort of thing that gets noticed at an inspection.
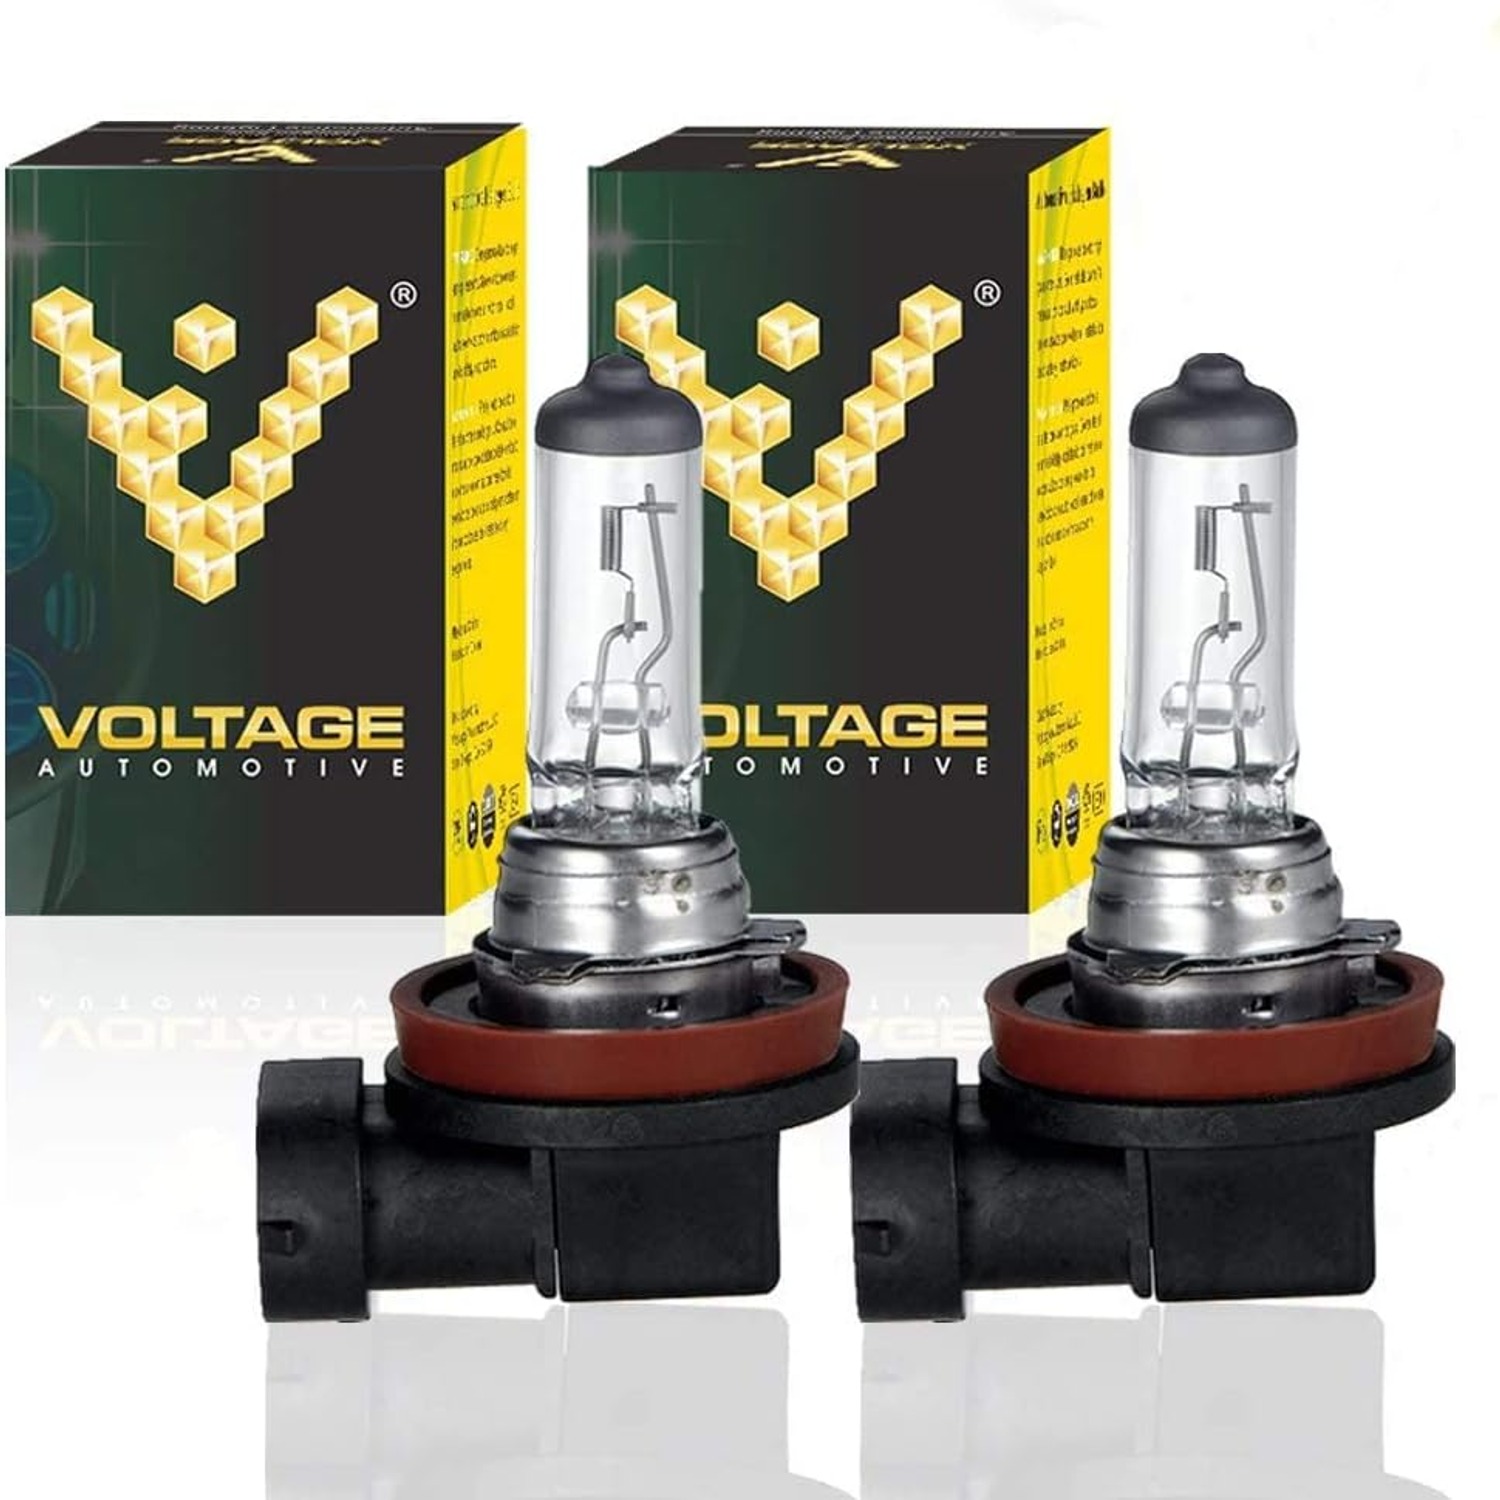
The fix is cheap and usually quick. A pack of two H11 halogen headlight bulbs gives you a fresh, matched pair, and in most cars you can do the whole job in a driveway with no specialist tools.
What an H11 bulb actually is
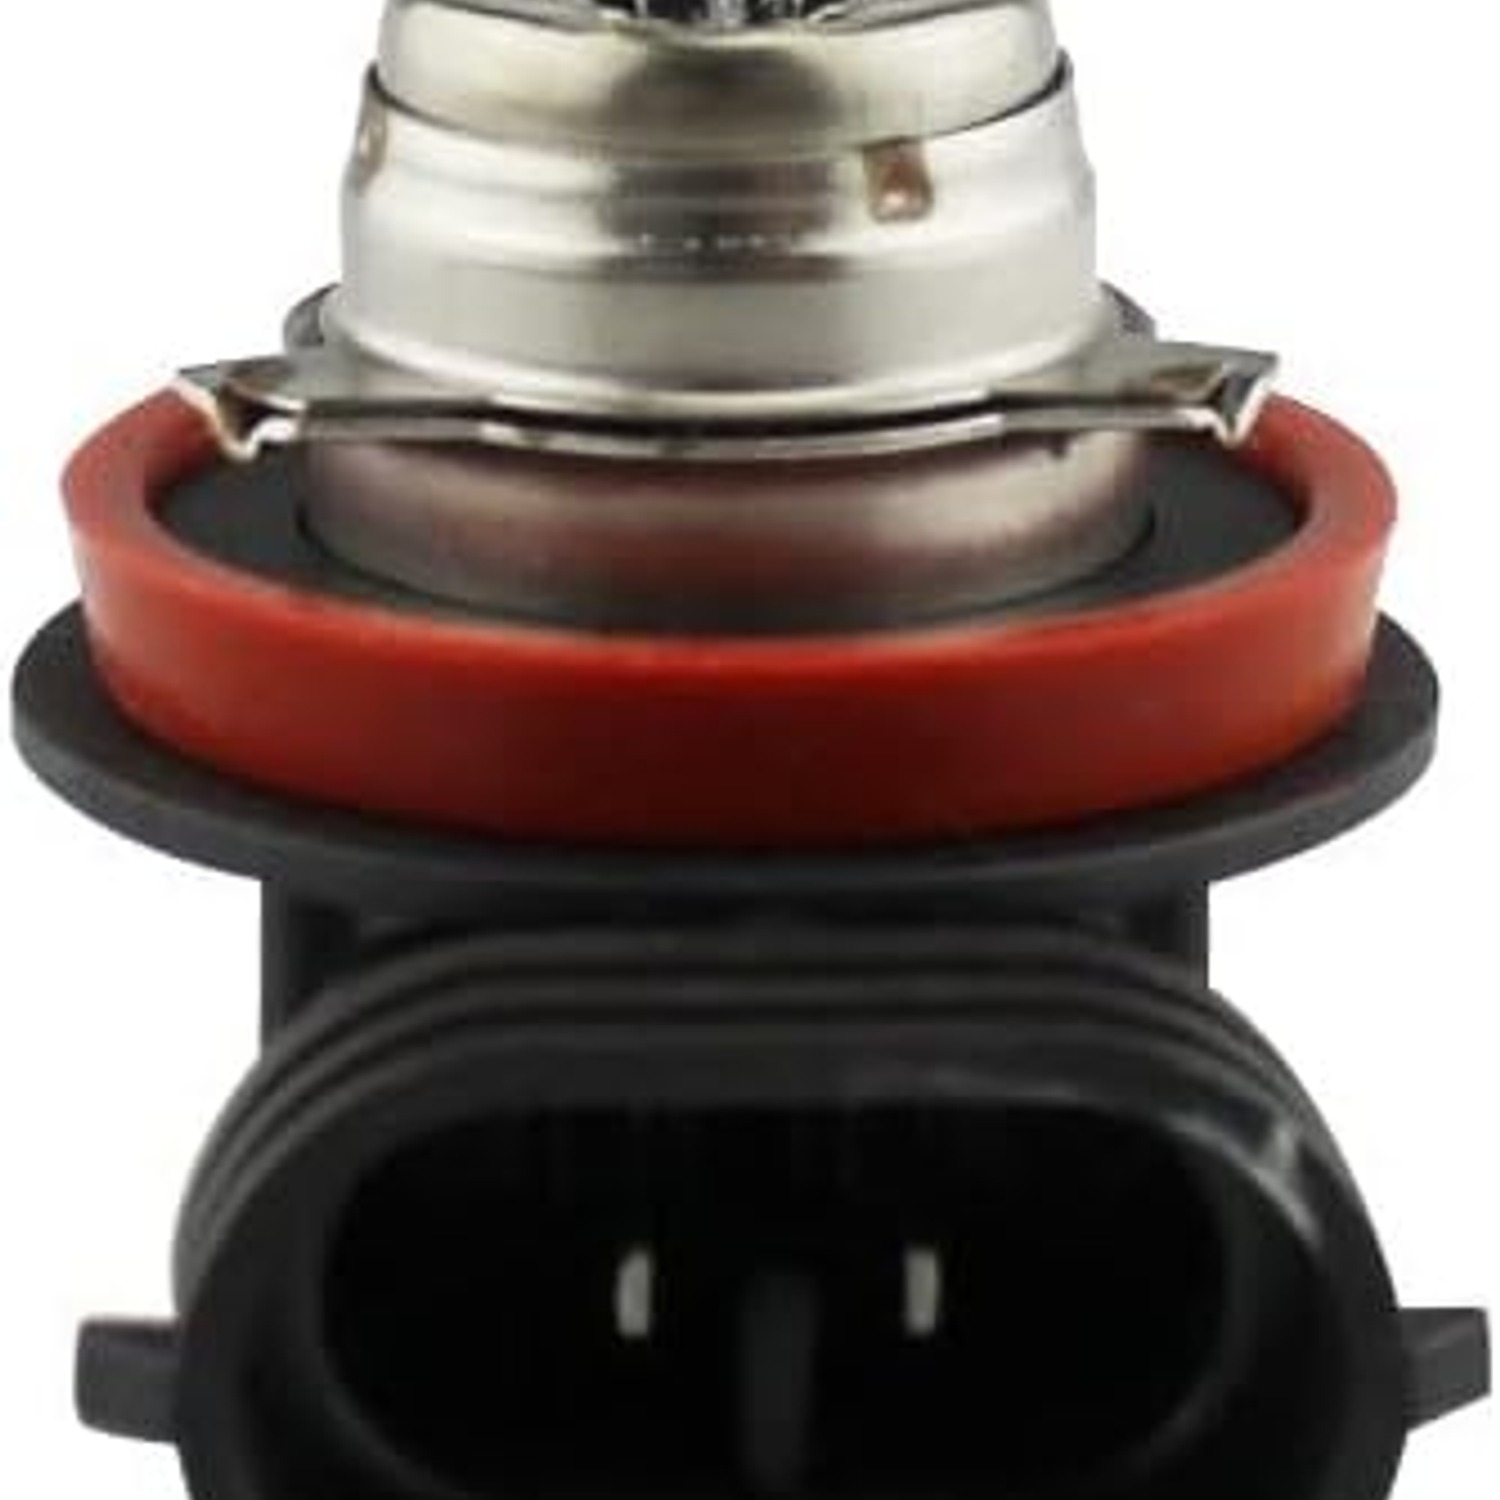
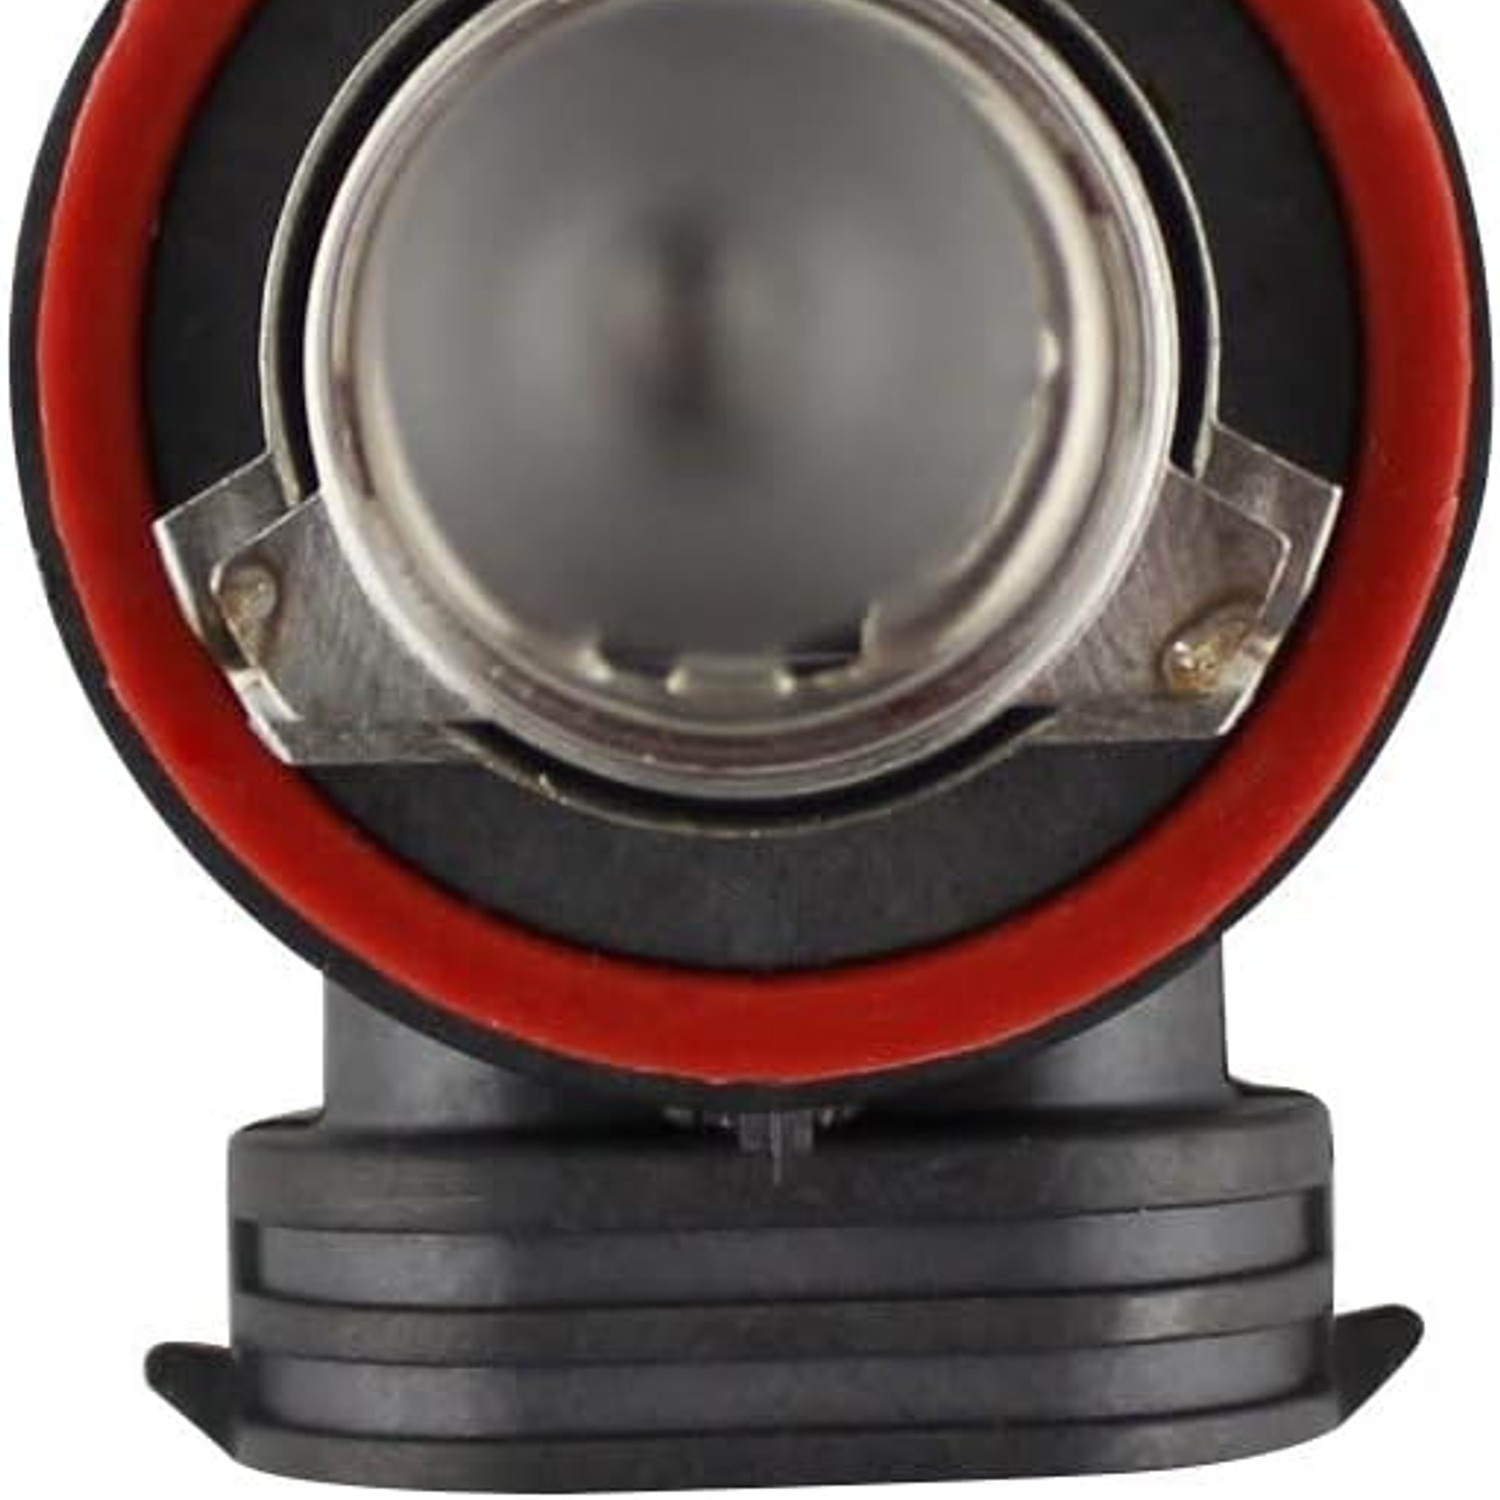
It describes the shape of the base, the position of the filament inside the glass, and how the bulb locks into the socket. Any bulb marked H11 is made to drop into a housing built for H11.
These bulbs are halogen. Inside the sealed glass capsule sits a tungsten filament surrounded by halogen gas. Current heats the filament until it glows, and the gas helps recycle evaporated tungsten back onto the filament instead of letting it blacken the glass. That is the whole mechanism, and it is why halogen is still so common. There is no driver box, no cooling fan, no control module to find space for.
Each bulb in this pack draws 55 watts. That number describes how much power the bulb uses, not how bright it looks. It is the figure printed on the bulb and listed in manuals, and it is useful mainly for checking that you are replacing like with like.
Why your car might use H11
Vehicle makers pick a bulb code for each lighting position when they design the headlight housing. The reflector shape, the lens, and the bulb position are all worked out together, which is why fitting the wrong code never ends well even if you could physically force it in.
H11 turns up in several roles depending on the vehicle. On some cars it handles low beam. On others it sits in the fog lights. Occasionally it is used elsewhere in the front lighting cluster. The role does not change the bulb, it only changes which socket you pull it out of.
That is also why we only list fitment by fitting type. If the bulb you are removing is marked H11, this is the right fitting. We do not publish lists of makes and models, because housings change across model years and trim levels, and a list like that gives false confidence.
Checking the fitting before you order
This takes about a minute and saves a return.
Open the hood and look at the back of the headlight housing. In many cars there is a round cover you twist off, and behind it the bulb sits in a socket with a connector pushed onto the back. Unplug the connector, release the clip or twist the bulb free, and look at the plastic base. The code is normally molded straight into it.
If access is awkward, the owner manual is the other reliable source. Look for a bulb specification table, usually near the back with the fluids and tire pressures. It lists each lighting position and its bulb code.
Two codes that look similar in a catalogue can be physically different in the socket. Never assume, and never try to make a close-enough bulb fit by trimming a tab. The filament position is part of the design, and a bulb sitting slightly wrong throws light where it was never meant to go.
Why buying a pair is the sensible move
A halogen filament thins as it burns. Light output drops off gradually over the bulb's life, and because the change is slow your eyes adapt without noticing. The first real sign is often the moment one bulb finally dies and you compare it with the other side.
When one bulb goes, the other has been running the same hours in the same conditions. It is usually close to the end of its own life and already dimmer than it was. Replacing only the failed side gives you one bright beam and one tired one, which looks odd from the driver's seat and spreads light unevenly across the road.
Fitting both bulbs together solves that and means you are not back under the hood in a few weeks. If you genuinely only want to change one now, keep the second bulb boxed in the glovebox. A spare set of halogen car bulbs is one of the more useful things to carry.
Fitting the bulbs without drama
Start with the lights off and the engine off. Headlight bulbs get very hot in use, so give an old bulb a few minutes to cool before you touch it.
Access varies a lot. Some cars are generous, with a clear reach behind the housing. Others need an engine cover lifted, a battery moved, or the wheel liner pulled back so you can reach in from the arch. Check your manual first so you are not improvising halfway through.
The actual swap is consistent. Unplug the connector, release the retaining clip or twist the bulb counterclockwise, and pull it straight out. The new bulb goes in the same way in reverse, then the connector pushes back on until it seats.
The one rule that matters is to keep bare fingers off the glass. Oil from skin leaves a residue that turns into a hot spot once the bulb warms up, and that can shorten bulb life. Hold the bulb by the plastic base. If you do touch the glass, wipe it with rubbing alcohol on a lint-free cloth and let it dry fully before fitting.
Before you close everything up, switch the lights on and check both sides. Then make sure the rear cover or seal is properly refitted, because a loose cover lets moisture into the housing.
Aim, cleaning, and the things people forget
A straight bulb-for-bulb swap should not change your headlight aim, since the new bulb seats in the same spot. If you moved the housing or touched the adjusters, check the aim on a flat wall in a dark space or have it set properly.
While you are there, look at the outside of the lens. Cloudy, yellowed plastic scatters light badly, and no new bulb fixes that. A dedicated lens restoration kit is a separate job, but it often makes more difference than people expect.
Also check the connector itself. Heat and age can make the terminals brittle or discolored. If it looks melted or the bulb sits loose in it, the connector needs attention before a new bulb will perform properly.
On approvals and claims
We do not claim an approval mark for this bulb. If your situation requires a bulb carrying a particular marking, look at what is printed on the base or glass of the bulb you are removing, and contact us before you order so we can tell you what we know about this item.
What we can confirm is the H11 fitting, the halogen light source, the 55 watt rating, and that the pack contains two bulbs.
Who this pack suits
It suits anyone whose car uses an H11 bulb and who wants a straightforward replacement without converting the housing to another technology. It suits drivers who prefer to change both sides at once. It suits people who like to carry a spare, especially for long drives or regular night journeys.
It is not for you if your vehicle uses a different fitting code, or if you are looking for a conversion kit rather than a direct halogen replacement.
The short version
Check the code on your old bulb or in the manual. If it says H11, this pack fits. Change both sides so the beams match, handle the bulbs by the base and not the glass, and let the old one cool before you touch it. It is a small job that makes night driving noticeably easier, and the spare pair costs you almost nothing to keep in the glovebox.