Online Auto Company
Company
Shop By Category
T&Cs
Shop Online
  • Free delivery across the United States on orders over $100
  • Interior, exterior and roadside car accessories in one place
  • Dispatch within 2 working days, then delivery in up to 7 working days by tracked courier
  • Tracking number emailed as soon as your order ships

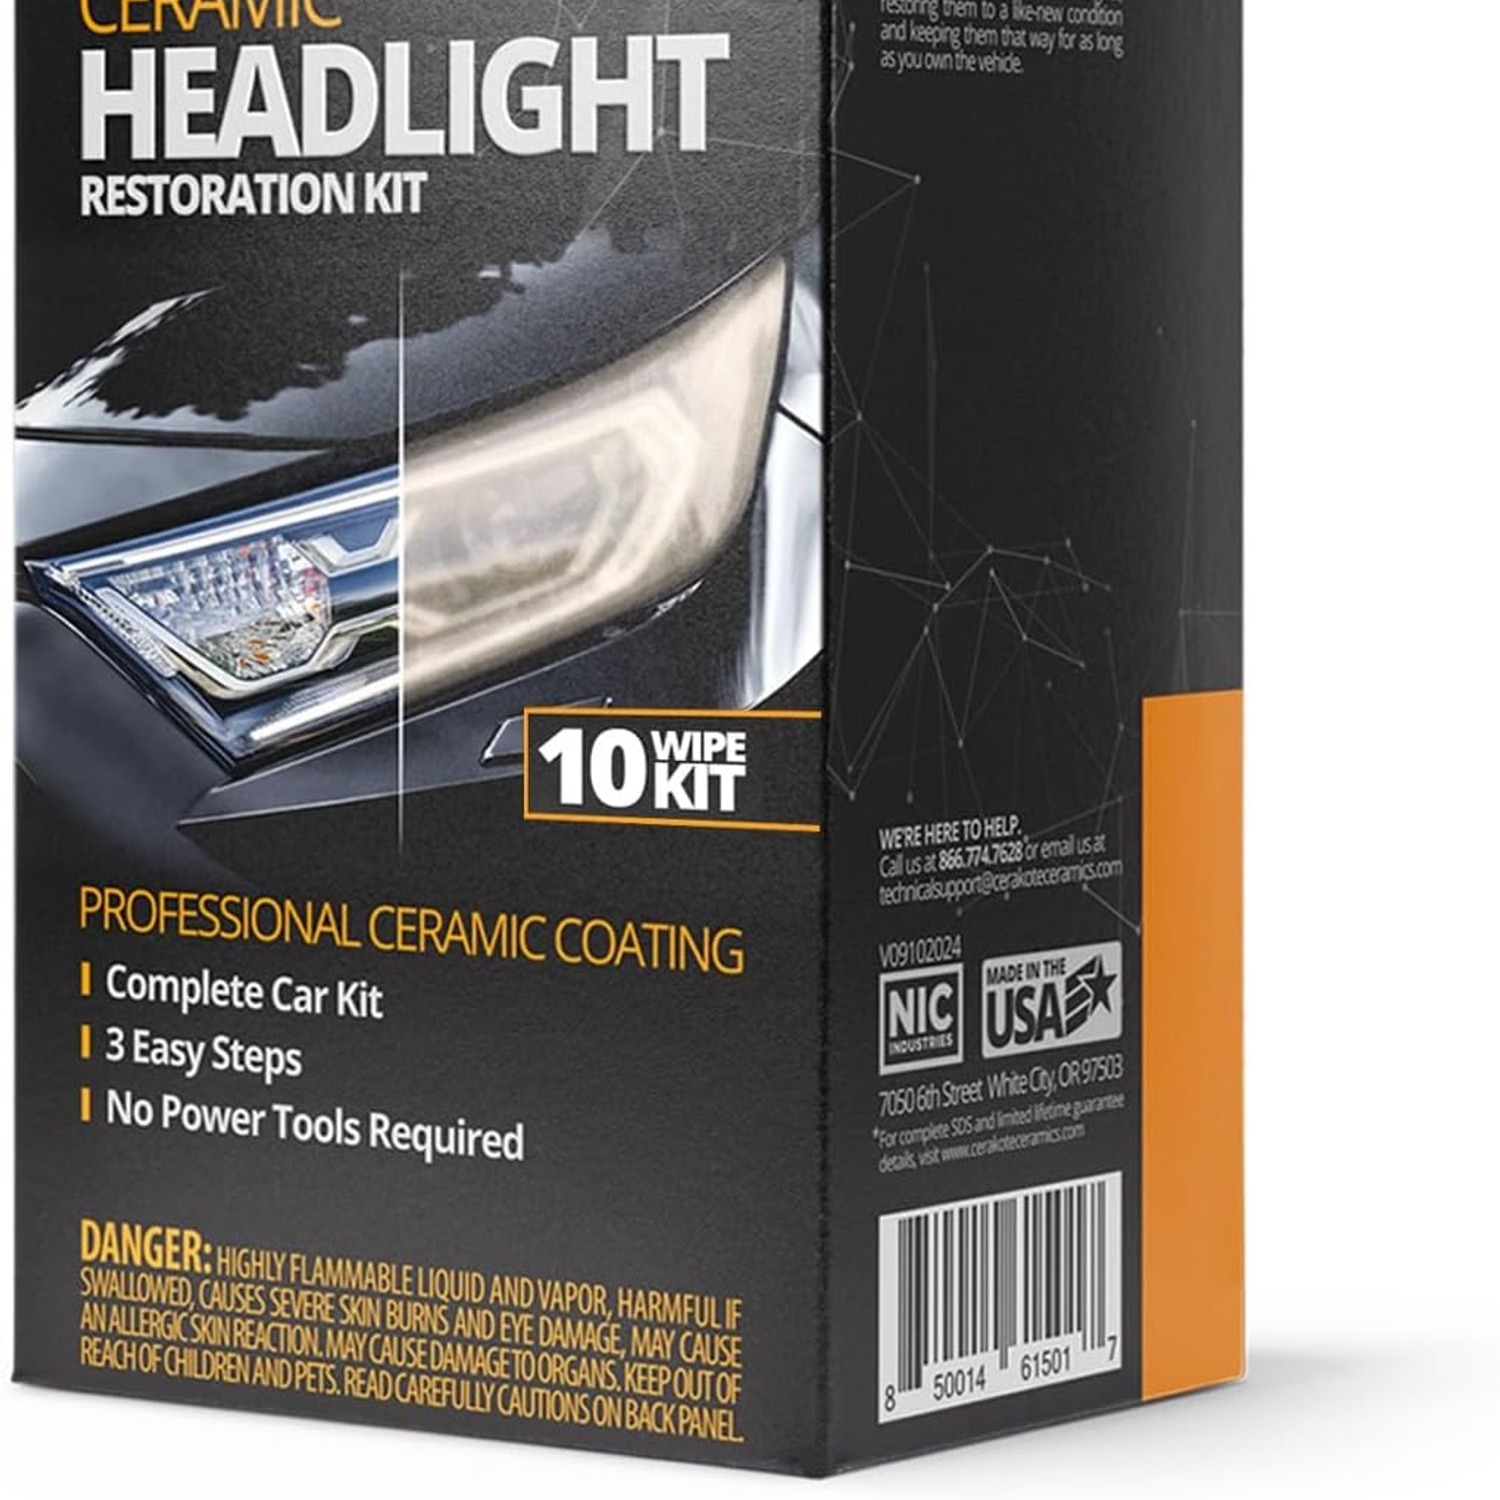
Ceramic Headlight Restoration Kit | Headlight Restoration Kit | Headlight Restorer Wipes

Ceramic Headlight Restoration Kit

$35.99 $42.99 Save $7
  • Three Step System
  • About 30 Minutes
  • No Power Tools
  • Clear Ceramic Coating

Price: $35.99 $42.99

  • Delivery time: up to 7 working days by tracked courier, after dispatch within 2 working days
  • Free delivery across the United States on orders $100+, otherwise a flat $25
  • Pay by card or PayPal, handled by the payment provider
  • 15 days to change your mind, plus a repair, replacement or refund if it arrives faulty
Product specifications
Kit TypeThree step wipe kit
CoverageOne vehicle
Tools NeededNone
Time To CompleteAbout 30 minutes
Item Weight136 g
Weight136 g
Shipping & returns

Tracked delivery anywhere in the United States. It is free on orders of $100 or more, and a flat $25 below that. Allow up to 7 working days in transit after dispatch within 2 working days.

This shop's own returns policy gives you 15 days from purchase to change your mind, on every product it sells. Send it back in its original packaging with proof of purchase and we refund the price you paid for the goods, processed within 24 to 48 hours of the return arriving. You cover the cost of returning it unless the item is faulty.

If it arrives faulty, damaged or not as described, we put it right at no cost to you, return postage included, and your rights under federal and state consumer protection law are unaffected.

Shipping details · Refunds and returns

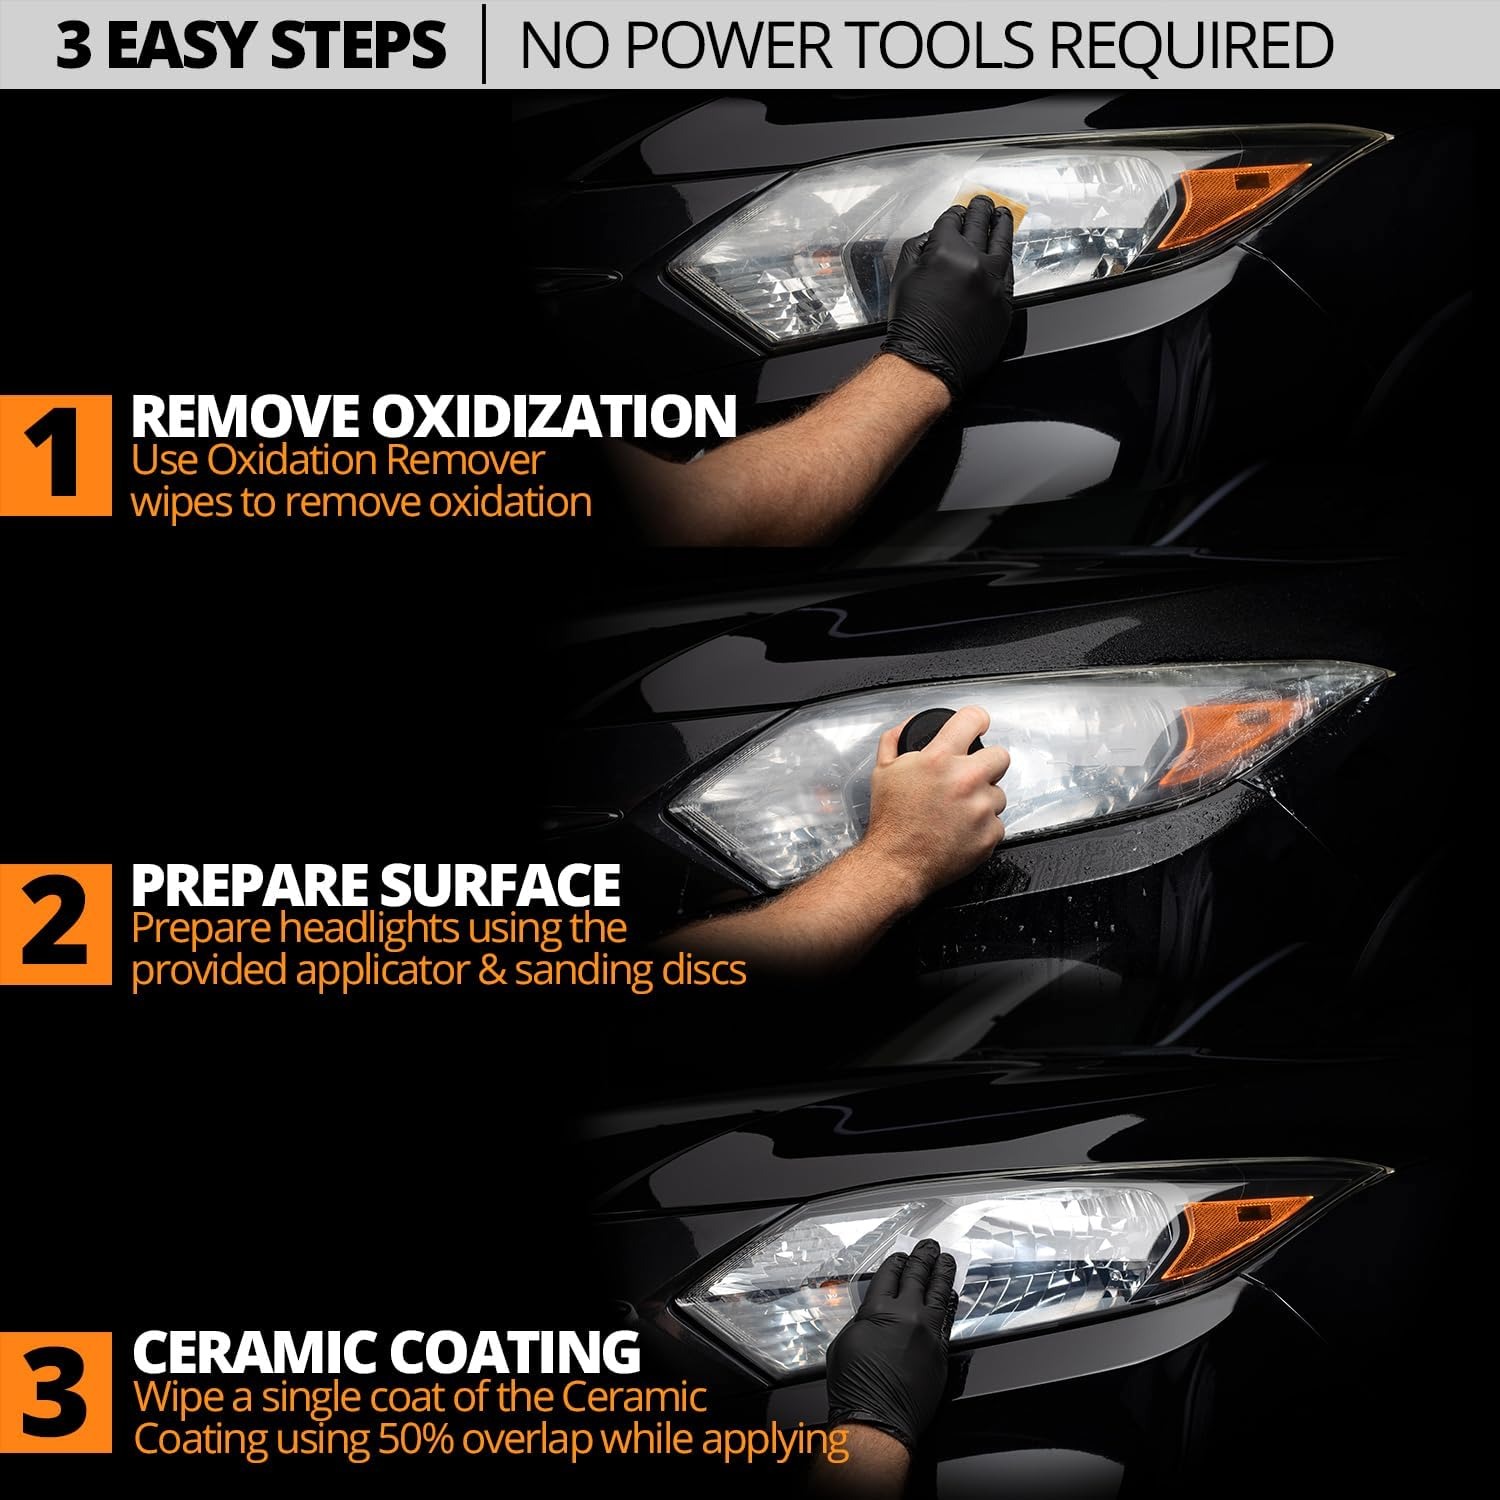
Three Step SystemOxidation remover wipes, a prep pad, then ceramic coating wipes.
About 30 MinutesA short job you can finish in a driveway or parking space.
No Power ToolsEverything is done by hand, so no drill or polisher is needed.
Clear Ceramic CoatingThe coating bonds to the lens and adds UV protection.

Bring clarity back to hazy, yellowed lenses with a ceramic headlight restoration kit you can use in your own driveway.

Three simple steps, wipes and a prep pad instead of power tools, and a clear ceramic coating that bonds to the lens for UV protection in about 30 minutes.

This ceramic headlight restoration kit covers one vehicle and works in three steps you do by hand.

Oxidation remover wipes take off the hazy film sitting on the surface of the lens.

A hand held prep pad then works on the deeper oxidation and gets the plastic ready to accept the coating.

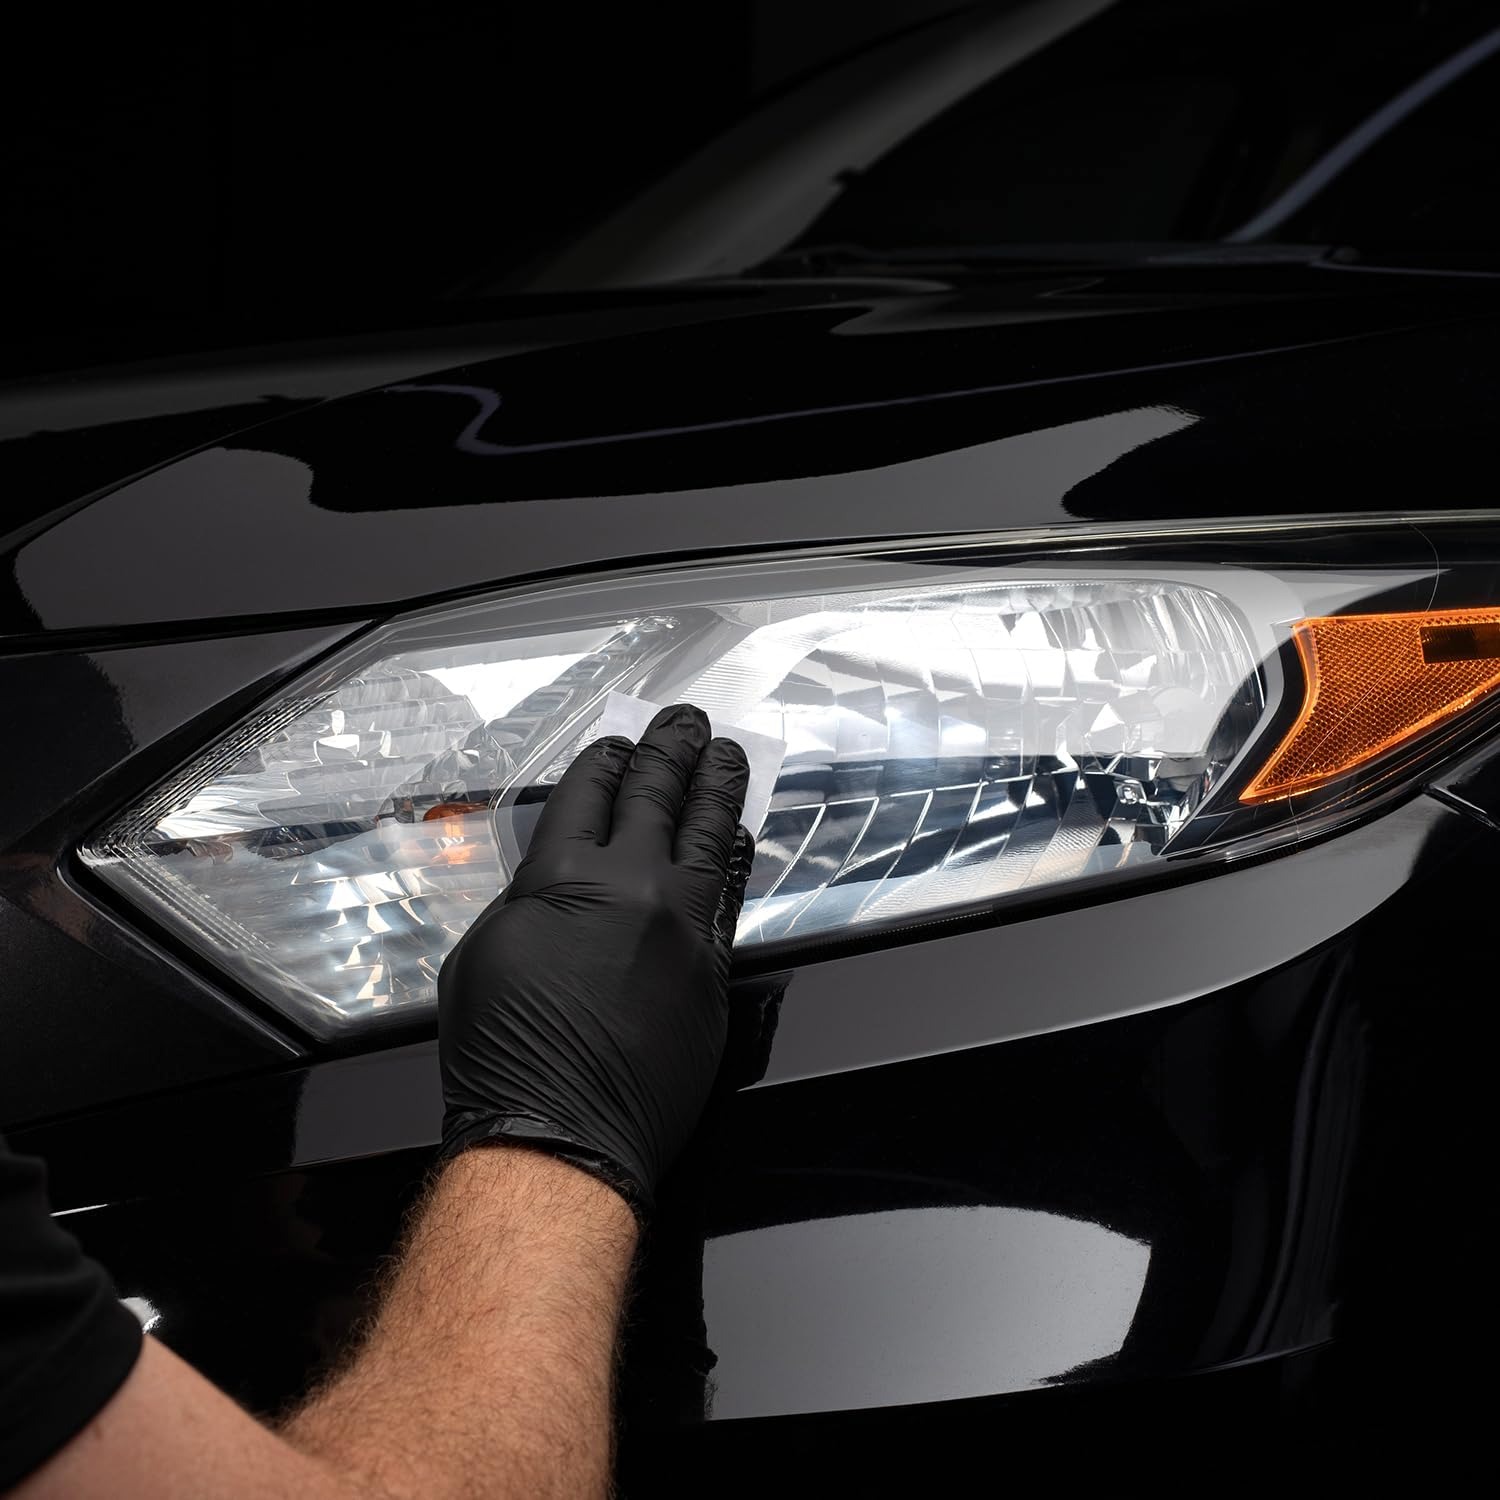
Pre-moistened ceramic coating wipes lay down a clear ceramic layer that bonds to the lens and adds UV protection.

The whole job takes around 30 minutes and no drill, polisher or other power tool is required.

Ceramic Headlight Restoration Kit

Headlight lenses on most modern cars are made from clear plastic with a factory coating on the outside. Sun, road grit and washing slowly wear that coating away. Once it is gone, the plastic underneath starts to oxidize and the lens turns cloudy, chalky or yellow. A ceramic headlight restoration kit is designed to deal with that surface layer and then put a fresh clear coating back on top.

Ceramic Headlight Restoration Kit

This kit does the work in three stages. The first stage uses oxidation remover wipes to lift the hazy film sitting on the surface. The second stage uses a hand held surface prep pad to tackle the deeper oxidation and give the plastic a clean, even surface for the coating to grab. The third stage uses pre-moistened ceramic coating wipes that lay down a clear ceramic layer, bond it to the lens and add UV protection.

Because everything is done by hand, you do not need a drill, a polisher, a bucket of water or a set of sanding discs. That keeps the job simple and keeps the mess down. Most people finish both lamps in roughly half an hour, which makes this an easy weekend task rather than a full afternoon project.

Results depend on the condition of the lens you start with. Surface oxidation and yellowing are what this kit is made for. Deep cracks, chips, internal moisture or damage on the inside of the housing cannot be reached or repaired from the outside, and no exterior product will change that. If a lens is fogged on the inside, the problem is sealing, not surface haze.

Before you begin, mask the paint and trim around each lamp with tape and try the first step on a small corner of the lens to see how it behaves. Work in the shade on a cool lens rather than in direct sun. Taking a few extra minutes on preparation usually makes the difference between a patchy finish and an even one.

Not sure yet? That is fine.

You can change your mind. This shop's own returns policy gives you 15 days from purchase to send it back in its original packaging with proof of purchase, and we refund the price you paid for the goods.

If it turns up faulty, damaged or not as described, that is on us. We pay the return postage and you can have a repair, a replacement or your money back, and your rights under federal and state consumer protection law are unaffected. Read the full detail on our refunds and returns page, or ask us anything before you order.

Frequently Asked Questions

What does this kit actually do?

It removes the oxidized, hazy layer from the outside of a plastic headlight lens and then puts a clear ceramic coating in its place. The result is a cleaner looking lens with a fresh protective layer on top. It works on the outer surface only.

How many steps are there?

There are three. Oxidation remover wipes come first, a hand held surface prep pad comes second, and pre-moistened ceramic coating wipes finish the job. Each step has a different purpose and all three are included.

How long does the job take?

About 30 minutes for one vehicle. That includes masking the area and letting each step do its work. Rushing it is the main reason people end up with an uneven finish.

Do I need a drill or polisher?

No. This is one of the reasons people look for the best no power tool headlight kit. Everything is done by hand with the wipes and the prep pad supplied.

How many vehicles does one kit cover?

One vehicle. The contents are sized for a single pair of headlights. If you have more than one car to do, order a kit for each.

Will it fix a lens that is foggy on the inside?

No. Internal fogging comes from moisture getting inside the housing, and nothing applied to the outside can reach it. That is a sealing or housing issue and needs a different repair.

Can it repair cracks or chips?

No. Cracks, chips and damage inside the lens cannot be fixed from the outside. This kit is for surface oxidation, haze and yellowing only.

How yellow is too yellow?

There is no hard line. Heavy yellowing that has gone deep into the plastic will improve less than light surface haze. Results depend on the condition of the lens you start with.

Should I test it first?

Yes. Try the first step on a small corner of the lens and see how the surface responds before doing the whole lamp. It takes a minute and tells you a lot.

Do I need to mask the car?

Masking the paint and trim around each lamp is strongly recommended. Painter's tape around the edge of the lens keeps the products off surrounding panels and gives you a tidy working edge.

Can I use it in direct sunlight?

Work in the shade on a cool lens instead. Hot plastic and strong sun can make products flash off too quickly and leave streaks. Early morning, late afternoon or a garage all work well.

Does the lens need to be washed first?

Yes, wash and dry the lens before you start. Removing loose dirt and road film means the oxidation remover wipes are working on the oxidation rather than grinding grit across the plastic.

What is the prep pad for?

It handles the deeper oxidation that the first wipes do not fully lift, and it leaves the surface ready for the coating to bond to. Skipping it tends to give a patchy result.

What does the ceramic coating do?

It lays a clear ceramic layer that bonds to the lens and gives UV protection. Think of it as replacing the factory clear layer that wore away in the first place.

How long do I wait between steps?

Follow the order on the pack and let each step finish before moving on. The coating in particular should be left to set undisturbed rather than wiped over straight away.

Can I wash the car afterward?

Let the coating cure before washing. After that, regular car wash soap and a soft cloth are fine. Avoid scrubbing the lens with anything abrasive.

Will it work on tail lights or fog lamps?

It is designed for headlight lenses, which are the ones that usually oxidize. Other clear plastic lenses have the same type of surface, so many people treat them too, but test a small area first.

Does it work on glass headlights?

Glass lenses do not oxidize the way plastic does, so there is usually nothing for the kit to remove. The best headlight restoration kit choice for glass is normally just a good clean.

Do I need gloves?

Gloves are a sensible idea for any car care product and keep your hands clean while handling the wipes. They are not listed as included in this kit.

What is in the kit?

Oxidation remover wipes, a hand held surface prep pad, and pre-moistened ceramic coating wipes. Everything needed to complete the job is in the kit.

How much does the kit weigh?

The item weight is 136 g. That makes it light enough to keep in a glove box or on a garage shelf without taking up space.

What color is the kit packaging?

The important part is what is inside, which is the three step set of wipes and the prep pad.

Can I use half the kit now and half later?

Keep unopened packets sealed and store them in a cool, dry place out of the sun. Once a wipe packet is opened it will begin to dry out, so plan to use opened items in the same session.

Will it last forever?

No product on the outside of a lens lasts forever, and we make no claim about how long the result will hold. Sun exposure, washing and road conditions all play a part. Parking in shade helps.

How do I know if my headlights need this?

Look at the lens in daylight. If it looks milky, chalky or yellow compared with the clear plastic around the edges, surface oxidation is the likely cause and this is the sort of job the kit is for.

Do I have to remove the headlight from the car?

No. The whole process is done with the lamp in place on the vehicle. That is why masking the surrounding paint matters.

What if it is not right for me?

If the kit arrives damaged or is not what you expected, contact us and we will sort out a return or replacement under our standard returns policy. Tell us what happened and include your order number so we can help quickly.

How long will delivery take?

We dispatch within 2 working days. Delivery then takes up to 7 working days by tracked courier, anywhere in the United States. It is free on orders of $100 or more and a flat $25 below that, shown in your cart before you pay. You get a tracking number by email once the parcel is dispatched.

Is there a warranty?

No separate warranty is sold. The consumer law of your state applies in full, and faulty items are put right. Contact us with your order number and a photo and we will sort it out.

Can I ask a question before I order?

Yes. Send us a photo of your headlight lens and tell us what you want to fix, and we will tell you honestly whether this is the right product before you buy.

Headlight Restoration Kits, A Plain Buyer's Guide

6 min read Online Auto Company

The problem with cloudy headlights

Walk through any parking lot and you will spot it. Cars that look fine from ten feet away, but the headlights have gone milky. Sometimes they are yellow, sometimes chalky white, sometimes just dull in a way that makes the whole front of the car look older than it is.

This is not dirt. Washing will not shift it. The cause sits in the lens itself.

Modern headlight lenses are made from clear plastic rather than glass. Plastic is lighter, cheaper to shape and far less likely to shatter, which is why it took over. The catch is that bare plastic does not cope well with ultraviolet light. So manufacturers spray a protective clear layer over the outside of each lens at the factory.

That layer is doing a hard job. It sits on the front of a car, a few feet off the road, taking sun, rain, road salt, grit, bug splatter and every pass of a brush at the car wash. Over several years it wears thin and breaks down. Once it is gone, UV light reaches the raw plastic underneath and the surface starts to oxidize. That oxidation is the haze you are looking at.

How a restoration kit works

A ceramic headlight restoration kit is really doing two jobs in one sitting. First, it takes the ruined layer off. Second, it puts a new protective layer on.

This particular kit splits that into three steps.

Step one is a set of oxidation remover wipes. These handle the hazy film sitting right on the surface. You will usually see the first improvement here, and you will also see the wipe discolor as it picks up the oxidized material. That is a good sign. It means the product is working on the right thing.

Step two is a hand held surface prep pad. Oxidation is rarely only skin deep. The pad works into the deeper layer that the wipes alone will not shift, and at the same time it leaves the plastic with a clean, even surface. That second part matters more than people expect. A coating needs something consistent to bond to. Skip this step and you can end up with a coating that sits unevenly and looks blotchy in daylight.

Step three is the pre-moistened ceramic coating wipes. These lay down a clear ceramic layer that bonds to the lens and provides UV protection. It is the replacement for the factory layer you just removed.

The whole thing takes about 30 minutes and no power tools are needed. That is a genuine difference from older approaches, which often meant wet sanding through several grits with a drill attachment and a bucket of water.

Who this suits

This kit makes sense if your lenses are hazy, yellowed or dull on the outside and the plastic itself is still intact.

It is a good fit for someone who wants to tidy up a car before selling it, someone keeping an older daily driver looking presentable, or anyone who just finds cloudy lenses annoying to look at. If you have been searching for the best DIY headlight restoration kit because the idea of sanding your own headlights sounds stressful, a wipe based system removes most of that worry.

It is not the answer in every case. If moisture has got inside the housing and the lens fogs up from within, nothing applied to the outside will reach it. That is a sealing problem. If the lens is cracked or chipped, the damage is structural and a surface product will not close it. And if the yellowing has gone very deep into the plastic over a decade or more, expect improvement rather than perfection.

Being honest about the starting condition is the single best way to be happy with the outcome. Results depend on the lens you begin with.

Choosing between the options

There are broadly three ways to deal with oxidized lenses, and it helps to see where a wipe kit sits.

The cheapest route is a polish or toothpaste style abrasive. It can brighten a lens for a little while. The problem is that it takes material off and puts nothing back, so the bare plastic is left exposed to UV and the haze tends to return.

The most expensive route is replacing the headlight assemblies outright. That gives a factory lens and factory coating, and it also costs far more than most people want to spend on cosmetics.

A restoration kit with a coating step sits in the middle. You remove the damaged layer and then replace it. When people compare the best ceramic headlight coating options, this combination of removal plus protection is usually what they are after, because treating only half the problem is what causes the finish to fade back quickly.

Within kit choices, the main split is power tool based versus hand applied. Drill based kits can handle heavier oxidation but need more equipment, more care and more time. Hand applied kits like this one trade a little of that aggression for simplicity and speed.

Doing the job properly

Preparation is where most of the quality comes from.

Start by washing and drying the lenses. You do not want to drag road grit across the plastic. Then mask the paint and trim around each lamp with tape. The products are meant for the lens, not for the panel beside it, and a clean taped edge also makes the finished work look deliberate rather than smeared.

Work in the shade on a cool lens. Direct sun on hot plastic makes everything dry faster than you want and raises the chance of streaking. A garage, a carport or an overcast morning are all better conditions.

Before you commit to the whole lamp, test on a small area. A corner of the lens is enough to show you how the surface responds and how much pressure the prep pad wants.

Then work through the three steps in order and give each one its time. The coating step is the one to be patient with. Let it set undisturbed rather than going back over it, and hold off on washing the car until it has cured.

Keeping the result

Once the coating is on, care is simple. Normal car wash soap and a soft cloth are all it needs. Avoid abrasive cleaners, scouring pads and harsh solvents on the lens.

Where you park matters more than people realize. UV light is what wore the original factory layer away, so a car that lives in a garage or under a carport will hold its finish longer than one parked in full sun all day. Shade is free protection.

Store any unopened packets from the kit sealed, cool and out of sunlight, and keep them away from children and pets.

We make no claim about how long the result will hold. Sun, climate, washing habits and the condition of the plastic underneath all play a part.

The short version

Cloudy headlights are oxidized plastic, not dirt, and washing will not fix them. This ceramic headlight restoration kit removes the oxidized surface with wipes and a prep pad, then lays a clear ceramic coating that bonds to the lens and gives UV protection.

One kit covers one vehicle. No power tools. About 30 minutes.

Mask the surrounding paint, test a small area first, and work in the shade. Surface haze and yellowing are what it is built for. Cracks, chips and moisture inside the housing are not something any external product can reach.

If your lenses are dull but sound, this is a straightforward half hour that makes the front of the car look a good deal better.

Browse the shop

Not sure if your lenses can be saved?

Send us a photo of your headlights and we will tell you honestly whether surface restoration is likely to help.

Ask us a question

Page summary

The Ceramic Headlight Restoration Kit is a three step, hand applied kit for clearing surface oxidation and haze from automotive headlight lenses. It covers one vehicle and needs no power tools. Step one uses oxidation remover wipes to take off surface oxidation. Step two uses a hand held surface prep pad for deeper oxidation and to prepare the lens. Step three uses pre-moistened ceramic coating wipes that lay a clear ceramic coating bonded to the lens, providing UV protection. The job takes about 30 minutes and everything needed is included. Item weight is 136 g. Results depend on lens condition, and cracks or internal moisture cannot be fixed externally.