
The complete guide
H1 Halogen Headlight Bulbs, A Practical Buyer's Guide
The problem nobody notices until it is dark
Headlight bulbs rarely die cleanly. They fade. The filament gets thinner over thousands of hours, the quartz glass picks up a faint haze, and the light slides from white toward a warm yellow. It happens so gradually that your eyes adjust along with it. Then one wet night on an unlit road you realize you are leaning forward over the wheel trying to read the edge of the asphalt, and it dawns on you that the lights are not doing what they used to.
That is the moment most people go looking for replacement bulbs. Not because one has blown, but because both have quietly gotten tired. A fresh pair of H1 halogen headlight bulbs is the simple answer, and it is one of the cheapest jobs you can do on a car that actually changes how it feels to drive at night.
What H1 actually means
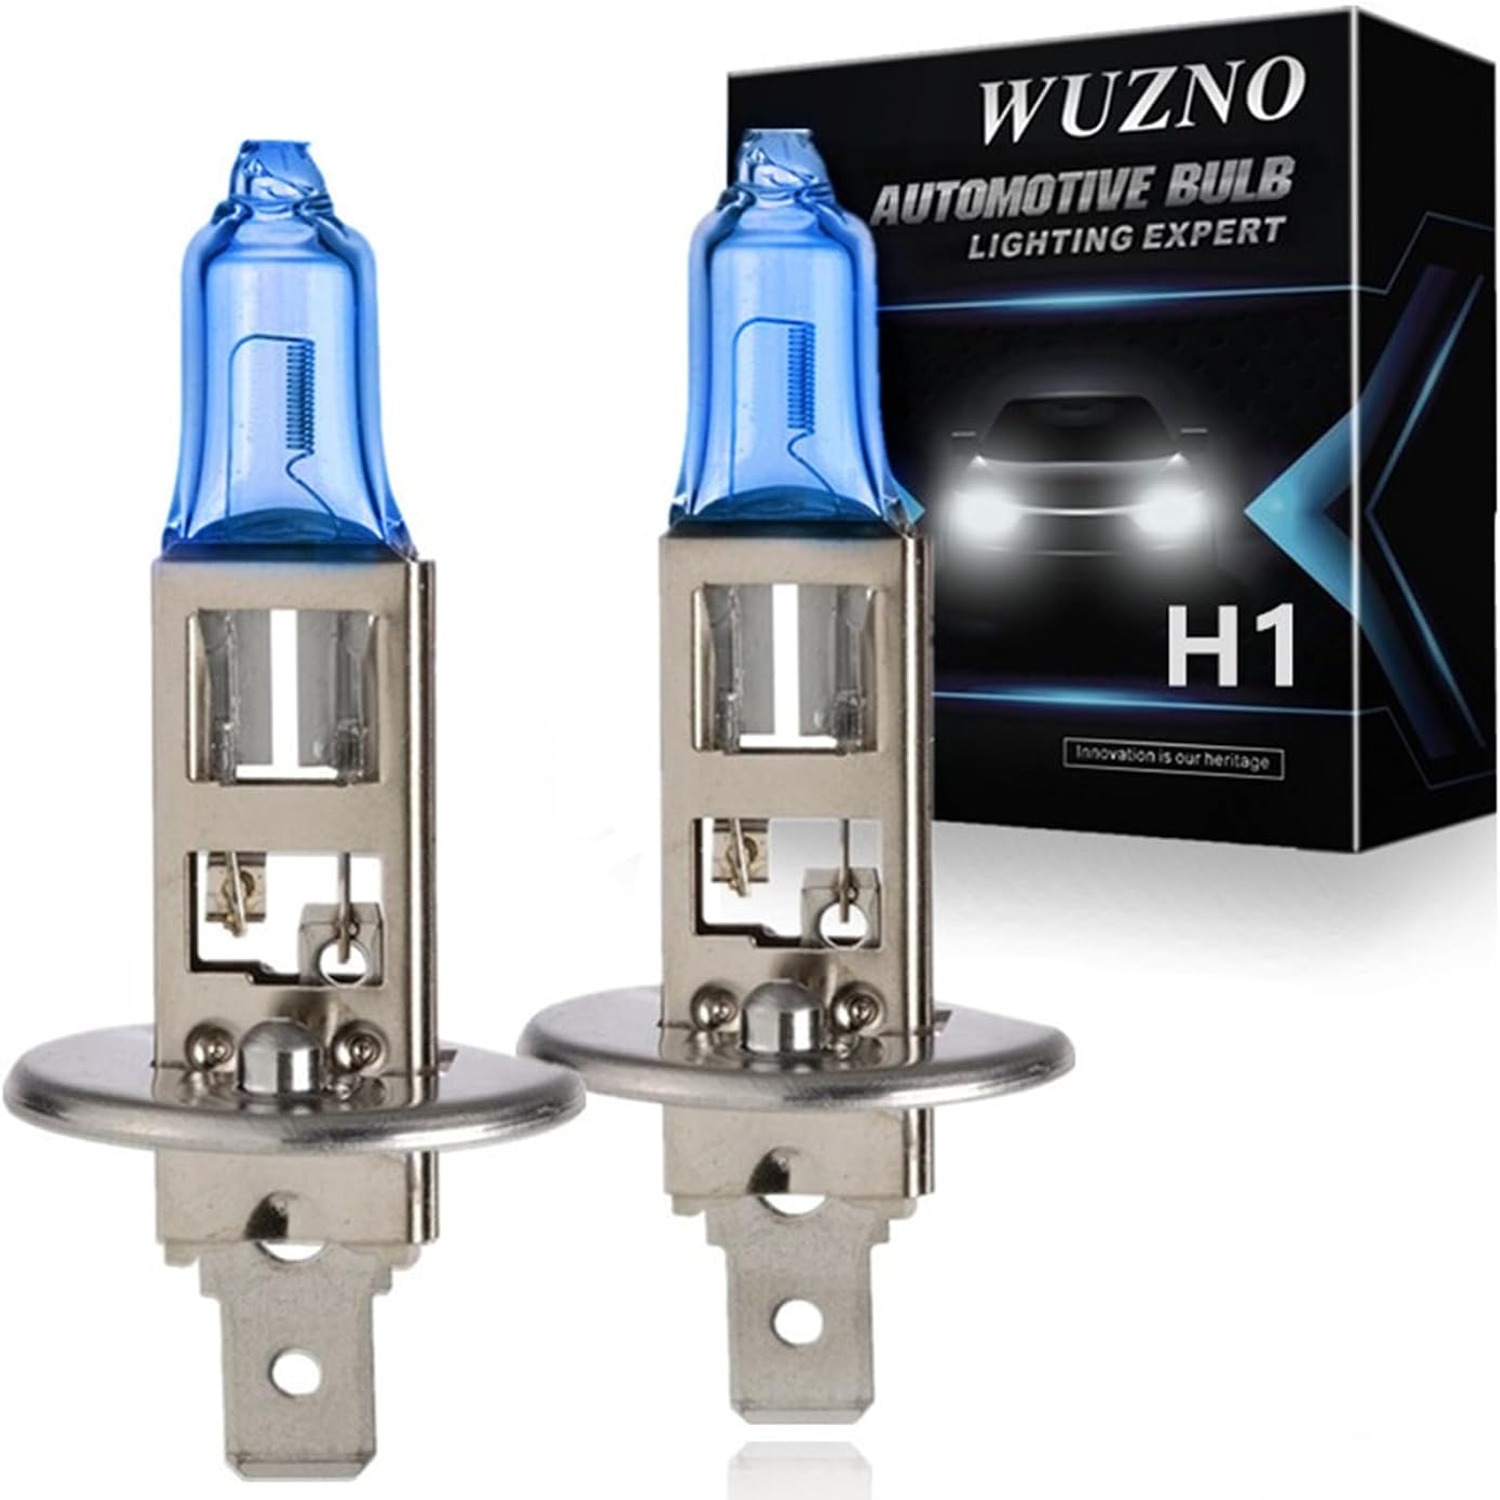
H1 is a fitting code, nothing more. It tells you the physical shape of the bulb base, the single flat connector tab, and how the bulb locates in the housing.
This matters because fitting codes are not interchangeable. An H1 and an H7 look vaguely similar at a glance, but they will not swap. The tab is different, the seating is different, and forcing one into the wrong housing does not end well. So the very first thing to do, before you compare anything, is work out which code you need.
There are two reliable ways. If the manual is long gone, open the hood, pull the old bulb, and read the base. The code is stamped or printed on the metal collar in nearly every case. Thirty seconds with a flashlight beats guessing.
One more thing worth knowing. The same H1 bulb can sit in different positions depending on how your car was built. On one model it is the low beam. On another it handles high beam, with a separate bulb doing low. On a third it lives in the fog lamp. The position does not change which bulb you need. The fitting does.
The numbers on this pack
These are 12 volt, 55 watt halogen bulbs with a 5000K light color, supplied two to a pack.
Twelve volts is the standard passenger car electrical system, so that number is rarely a surprise. Fifty-five watts is the usual draw for an H1 halogen bulb, which means the loom, connector and fuse in a car built for H1 are already sized for it. You are putting back what the car expects.
The 5000 Kelvin figure is the one people ask about most, and it is also the one most often misunderstood. Kelvin describes the color of the light, not the amount. A low number means warm and yellow. A high number means cool and blue-shifted. At 5000K you land in white territory, which against dark road surfaces tends to read as cleaner and sharper than the amber glow an aging bulb produces. If your current lights look slightly tea-colored, this is the difference you will notice first.
What a Kelvin number cannot tell you is how much light reaches the road. That depends on the bulb, the reflector or projector behind it, the condition of the lens, and your aim. A clouded, sandblasted headlight lens will waste a good bulb. If your lenses have gone milky, a polish or restoration kit is worth doing at the same time as the bulbs, because the two jobs together make far more difference than either one alone.
Why the pack contains two
It is tempting to replace only the bulb that failed. Resist it.
Both of your headlight bulbs have been switched on and off together for the entire life of the car. They have done the same hours, suffered the same vibration, and dimmed at roughly the same rate. When one gives up, the other is normally close behind. Changing just one means doing the whole job again within weeks or months, often in worse weather.
There is a cosmetic side too. A new white bulb sitting next to an old yellowed one is obvious from the front, and it is obvious in your own beam pattern as well. One side throws clean light, the other throws a softer warm pool, and the mismatch is distracting. Fitting both at once keeps the car looking right and the beam even.
Who this suits
Anyone running a vehicle with H1 headlight positions who wants a straightforward like-for-like replacement. That covers the owner whose bulb just blew, the owner whose lights have slowly dimmed, and the one who simply prefers a whiter look to the warm yellow of a tired halogen.
It also suits people building a small spares kit for the trunk or glovebox. A spare bulb, a few fuses and a pair of gloves take up almost no space, and they turn a roadside annoyance into a ten minute fix. One of the best headlight bulb upgrade moves you can make is the one that is already in the car when you need it.
These are not for anyone wanting to change technology. If you are set on LED, that is a different product category with its own fitting and heat questions, and swapping a halogen for an LED is not always as simple as the box suggests. These bulbs do one job, which is to put a fresh halogen filament where the old one was.
Fitting them without the usual mistakes
Work with the engine off and the lights off. Let the old bulb cool first, properly. Halogen bulbs run very hot in use and they stay hot for several minutes after you switch off, which is long enough to burn a careless hand.
Access varies enormously. Some cars give you a clear hand-sized gap behind the housing. Others bury it behind an air duct, a battery or a washer bottle, and you may need to shift something before you can reach. Looking up the procedure for your specific model before you start saves a lot of swearing.
Once you are in, the sequence is usually the same. Unplug the connector. Release the spring clip or twist the retaining collar. Draw the old bulb straight out. Slide the new one in, making sure the locating tabs seat square in their notches, then lock the clip and reconnect. Refit the rubber weather cover properly, because a cover left loose lets moisture into the housing and that causes far more trouble than a dim bulb ever did.
The one rule to hold onto through all of it is simple. Do not touch the glass. Skin oil left on the quartz creates a hot spot when the bulb comes up to temperature. Hold the base or the collar, or wear clean gloves. If you slip and touch it, wipe the glass with rubbing alcohol on a lint-free cloth and let it dry before fitting.
When both sides are done, switch on and look at the car from the front, then from twenty or thirty feet away. Both sides should look the same color and sit at the same height.
Looking after them
There is not much maintenance to a headlight bulb, but a few habits help. Keep the housing cover seated and the seal intact so water stays out. Wash the lenses when you wash the car, since road film cuts output quietly. Store any spare in its packaging rather than loose in a toolbox, where it will pick up grease or a chip.
Dispose of old bulbs as glass. Wrap them before they go in the bin so nobody gets cut, and check whether a local auto parts outlet or recycling center will take them.
The short version
This is a two-bulb pack of H1 halogen headlight bulbs, 12 volt, 55 watt, in a 5000K white light color. They replace an H1 bulb and nothing else, so confirm the fitting in your owner manual or by reading the base of the bulb you are taking out. Fit both sides together so the color matches. Handle them by the base, never the glass, and let the old ones cool before you touch them. If you are still unsure after reading your old bulb, send us the code and we will tell you whether this pair is right.